
By the end of this chapter, you will be able to:
Mastering these skills ensures you create well-fitting uniforms that meet professional standards and help you succeed in the trade.
Developing uniform patterns is a critical phase in fashion design that transforms conceptual uniform designs into practical, wearable garments. This process demands precision and expertise because uniforms must balance aesthetics, comfort, and functionality to suit the specific needs of various professional sectors in Kenya. Whether designing for healthcare workers at Kenyatta National Hospital or staff uniforms for a county government office, the ability to develop accurate pattern pieces ensures consistency and quality in uniform production. This chapter delves into the step-by-step development of uniform pattern pieces, providing fashion designers with the skills needed to produce well-fitting, professional uniforms.
Developing uniform pattern pieces involves creating the flat templates that serve as the blueprint for cutting fabric. These patterns must reflect the uniform’s intended fit, style, and functionality, incorporating allowances for movement and specific occupational requirements. In the Kenyan fashion industry, designers must consider diverse factors such as climate, fabric availability, and cultural appropriateness when drafting these patterns. The following subtopics explore the fundamentals of pattern piece development, including essential tools, drafting techniques, and adaptations for uniform designs.
Crafting precise uniform pattern pieces requires a set of specialized tools and materials that facilitate accurate measurements, drafting, and adjustments. These tools enable designers to translate body measurements and design sketches into workable patterns that guide the cutting and sewing processes.
| Name | Specification | Use |
|---|---|---|
| Pattern paper | Lightweight, semi-transparent, A1 size | Surface for drafting and modifying pattern shapes |
| Measuring tape | Flexible, 150 cm length | Taking body measurements and checking pattern dimensions |
| French curve | Plastic, curved edge | Drawing smooth armholes, necklines, and curves |
| L-square ruler | Metal or plastic, 60 cm length | Drawing perpendicular lines and straight edges |
| Pattern notcher | Small metal tool | Marking notches for aligning pattern pieces |
| Tracing wheel | Serrated edge, plastic or metal | Transferring pattern markings onto fabric |
| Scissors | Sharp fabric scissors, 20 cm blade | Cutting pattern paper and fabric accurately |
| Awl | Sharp pointed tool | Marking drill holes or darts on pattern paper |
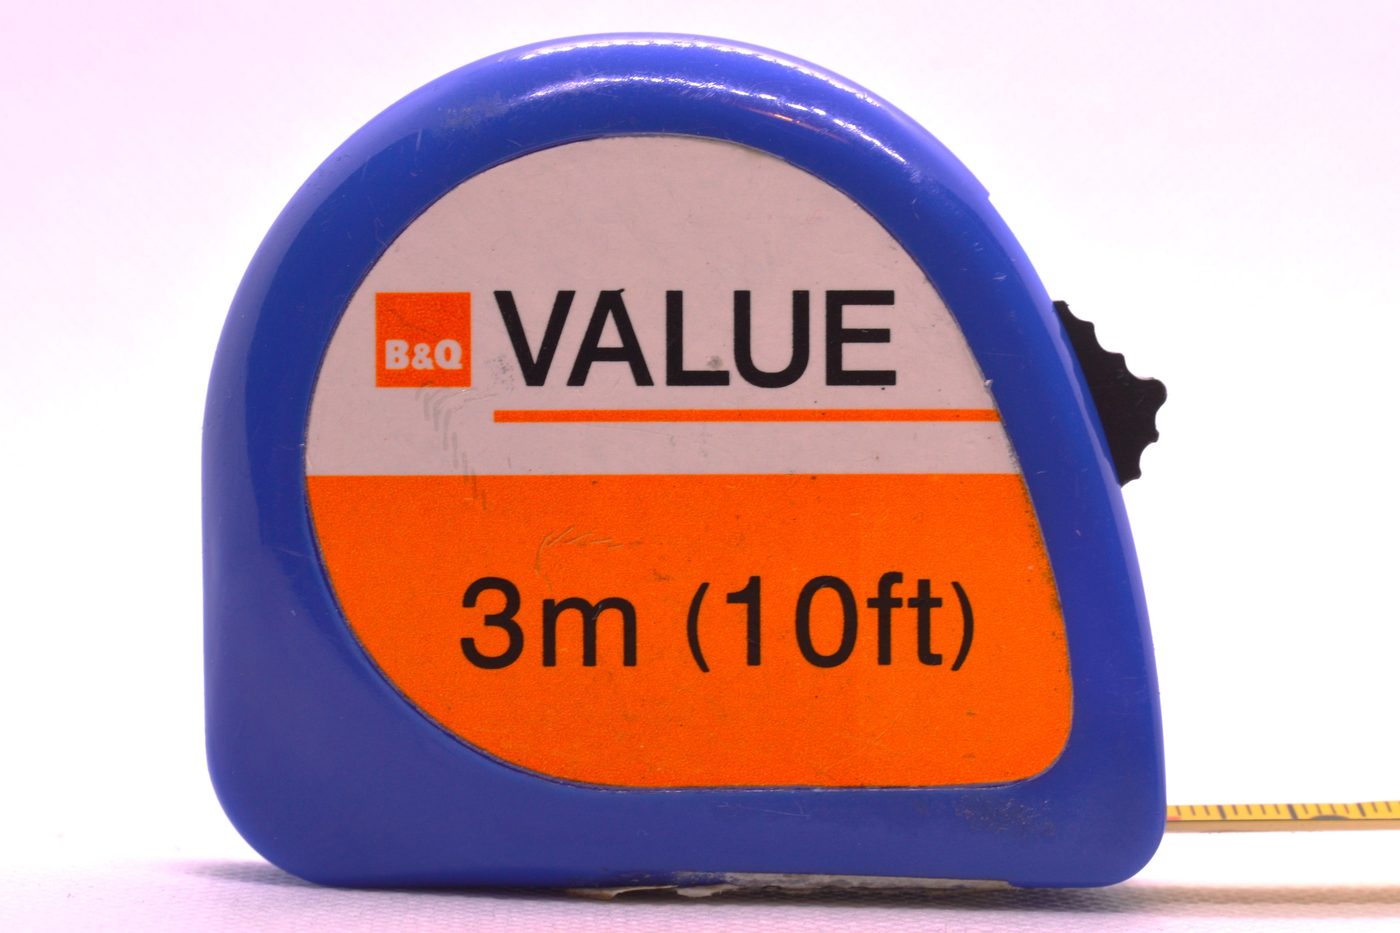
A 3m (10ft) measuring tape (Source: Wikimedia Commons)
Accurate body measurements form the foundation for developing uniform patterns that fit well and provide comfort during professional activities. In Kenya, where uniforms may be produced for diverse body types and sizes, precise measurement techniques ensure inclusivity and reduce costly alterations.
The drafting of basic pattern blocks is a technical process that transforms measurements into flat shapes representing each part of the uniform. These blocks serve as templates that can be modified for various uniform styles, ensuring consistency and efficiency in production.
Drafting begins with creating the fundamental bodice, sleeve, skirt, or trouser blocks, each tailored to the uniform’s intended use. For example, uniforms designed for hotel staff may require more fitted bodices for a polished look, while healthcare uniforms prioritize ease of movement and durability.
This methodical approach ensures that each uniform piece fits the wearer comfortably while meeting the functional demands of their profession.
Uniform patterns often require specific modifications to address the practical needs and aesthetic standards of different professions. These adjustments ensure that uniforms are not only visually appealing but also support the wearer’s tasks and comply with institutional regulations.
Modifications may include adding pockets for utility, reinforcing areas prone to wear, or adjusting lengths and closures for ease of use. For instance, uniforms for security personnel in Nairobi’s county government offices might incorporate reinforced elbows and multiple pockets, while school uniforms may emphasize modesty and durability.
These adaptations require a thorough understanding of both garment construction and the specific needs of the uniform’s end users.
Create a free account to open more of this chapter.
Free: practical guides, quick cards, workplace scenarios and more.
Create a free accountThis chapter covered the process of developing uniform pattern pieces, emphasizing the need for precision in creating each segment of the uniform. It explained the importance of clear pattern instructions to guide the cutting and sewing stages effectively. The role of folds in fabric layout was discussed, highlighting how they affect pattern placement and fabric usage. Notches and balance marks were identified as essential for aligning pieces accurately during assembly. The concept of straight grains was introduced to ensure fabric strength and proper garment drape. Pattern size considerations were addressed to accommodate different body measurements, while style numbers were used to categorize and reference designs systematically. The chapter also covered determining the number of pieces to be cut, identifying center back and center front lines for proper garment orientation, and assigning names to patterns for easy identification. Seam allowances were defined to provide room for stitching, construction lines were explained as guides for sewing, and the use of scale ensured patterns were drawn to accurate proportions. Finally, the chapter concluded with instructions on how to cut pattern pieces correctly to prepare for garment construction.
Type: Individual
| Tools & Equipment | Materials |
|---|---|
| Pattern construction tools | Medium weight fabric 60" wide |
| Measuring tools | Thread matching the fabric |
| Brown paper sheets | 1.5 cm diameter button without shank |
| Cutting shears | Hard interfacing 50cm x 80cm |
| Pressing tools | A3 brown envelope |
| Personal protective equipment | |
| Sewing machine |
| S/N | Item | Quantity |
|---|---|---|
| 1 | Brown paper sheets | 3 meters per Candidate |
| 2 | Medium weight fabric 60" wide | 2 meters per Candidate |
| 3 | Thread matching the fabric | 1 reel per Candidate |
| 4 | 1.5 cm diameter button without shank | 1 Pc per Candidate |
| 5 | Hard interfacing 50cm x 80cm | 1 Pc per Candidate |
| 6 | Sewing machine | 1 Pc per Candidate |
| 7 | Pattern construction tools | 1 set per Candidate |
| 8 | Pressing tools | 1 set per Candidate |
| 9 | Cutting shears | 1 Pc per Candidate |
| 10 | Measuring tools | Adequate per Candidate |
| 11 | Personal protective equipment (dust coat, thimble, low-heeled closed shoes) | 1 set per Candidate |
| 12 | A3 brown envelope | 1 Pc per Candidate |
| Items to be Evaluated | Marks Available | Marks Obtained | Comments |
|---|---|---|---|
| TASK 1: Preparation and PPE | |||
| Wore personal protective equipment: dust coat, thimble, flat low-heeled closed shoes (Award 1 mark each for dust coat, thimble, and shoes) | 3 | ||
| Ensured well-lit and well-ventilated working area (Award 1 mark each for lighting and ventilation) | 2 | ||
| Sub-Total | 5 | ||
| TASK 2: Identification and allocation of materials and tools | |||
| Identified and obtained brown paper sheets, fabric, interfacing, thread, button and A3 envelope (Award 1 mark each for all 6 items) | 6 | ||
| Prepared and arranged pattern construction tools, sewing machine, pressing tools, measuring tools and cutting shears (Award 1 mark each for all 5 tool sets) | 5 | ||
| Sub-Total | 11 | ||
| TASK 3: Marking pattern instructions | |||
| Added grain line clearly on all pattern pieces (Award 1 mark for correct grain line marking) | 1 | ||
| Marked on fold lines where applicable (Award 1 mark for correct fold line marking) | 1 | ||
| Indicated number of pieces to cut on each pattern piece (Award 1 mark for accurate quantity marking) | 1 | ||
| Labeled pattern name on each piece (e.g. front, back, sleeve) (Award 1 mark for correct naming) | 1 | ||
| Included seam allowances on all edges (Award 1 mark for consistent seam allowance marking) | 1 | ||
| Added notches and balance marks for alignment (Award 1 mark for clear notches and marks) | 1 | ||
| Marked pattern size clearly (Award 1 mark for visible size marking) | 1 | ||
| Sub-Total | 7 | ||
| PRODUCT CHECKLIST | |||
| Pattern pieces have all required instructions: grain line, fold line, piece count, pattern name, seam allowance, notches, size (Award 1 mark each for all 7 items; 3 marks for overall clarity and neatness) | 10 | ||
| Sub-Total | 10 | ||
| GRAND TOTAL | 33 | ||
Type: Individual
| Tools & Equipment | Materials |
|---|---|
| Pattern construction tools | Brown papers |
| Cutting shears | Medium weight fabric 60" wide |
| Measuring tools | Thread matching the fabric |
| Pressing tools | A3 brown envelope |
| Personal protective equipment (dust coat, thimble, low-heeled closed shoes) |
| S/N | Item | Quantity |
|---|---|---|
| 1 | Brown papers | 3 meters per Candidate |
| 2 | Medium weight fabric 60" wide | 1.5 meters per Candidate |
| 3 | Pattern construction tools | 1 set per Candidate |
| 4 | Cutting shears | 1 pair per Candidate |
| 5 | Measuring tools | Adequate per Candidate |
| 6 | Pressing tools | 1 set per Candidate |
| 7 | Personal protective equipment (dust coat, thimble, low-heeled closed shoes) | 1 set per Candidate |
| 8 | Thread matching the fabric | 1 reel per Candidate |
| 9 | A3 brown envelope | 1 per Candidate |
| Items to be Evaluated | Marks Available | Marks Obtained | Comments |
|---|---|---|---|
| TASK 1: Preparation and PPE | |||
| Wore PPE: dust coat, thimble, low-heeled closed shoes (Award 1 mark each) | 3 | ||
| Observed occupational safety and health requirements: well-lit working area and well-ventilated room (Award 1 mark each) | 2 | ||
| Sub-Total | 5 | ||
| TASK 2: Marking and folding pattern pieces | |||
| Identified and obtained all required materials and tools (Award 1 mark each) | 2 | ||
| Marked fold lines accurately on the pattern pieces as per the working drawing (Award 1 mark each for each pattern piece) | 4 | ||
| Created neat and precise folds on the pattern pieces to indicate fold lines (Award 1 mark each for each correctly folded piece) | 4 | ||
| Ensured all folds are aligned and secured for cutting or sewing (Award 2 marks for correct alignment and secure folds) | 2 | ||
| Sub-Total | 12 | ||
| PRODUCT CHECKLIST | |||
| Fold lines marked and folded accurately on all pattern pieces sized 600mm by 400mm (Award up to 5 marks for accuracy, neatness, and conformity to the drawing) | 5 | ||
| Sub-Total | 5 | ||
| GRAND TOTAL | 22 | ||
At the start of this chapter we promised you would be able to:
Tick each one you can genuinely do.
So, are you there yet?
You're competent when you can confidently do 50% or more of what this chapter promised.
Sign in to record how you're doing.