
By the end of this chapter, you will be able to:
Mastering these skills will help you create quality garments and prepare you for success in the fashion and tailoring industry.
Compiled by: Peter Ndungu
The construction of basic ladies' garments is a fundamental skill for fashion design professionals in Kenya. Mastery of this process requires a thorough understanding of the appropriate tools, equipment, materials, and supplies that enable efficient and high-quality garment production. This chapter focuses on equipping students with the practical knowledge of these essentials, ensuring they can confidently select and use the right resources when creating garments. In Kenya's dynamic fashion industry, where precision and quality are highly valued, familiarity with these elements is crucial for professional success.
Garment construction tools are the small, mostly hand-held instruments used to measure, mark, cut, pin, sew and unpick fabric, while equipment refers to the larger or powered machines and fittings, such as sewing machines, overlockers, irons and cutting tables. The right tools and equipment, kept in good condition, improve accuracy and speed, reduce fabric waste and give neat workmanship. Example: a dressmaking workshop at a youth polytechnic in Bomet issues each trainee a kit of shears, tape measure, pins and chalk, and shares its straight-stitch and overlock machines on a rota.
| Name | Specification | Use |
|---|---|---|
| Dressmaker's shears | 20 to 25 cm (8 to 10 inches), bent handle, sharp steel blades | Cutting fabric smoothly and accurately |
| Paper scissors | Medium size | Cutting paper patterns, so shears stay sharp |
| Pinking shears | Zigzag-edged blades | Cutting and neatening raw edges of firm fabrics |
| Thread clippers (snips) | Small spring-action blades | Trimming thread ends while sewing |
| Tape measure | Flexible, 150 cm, marked in cm and inches | Taking body and fabric measurements |
| Metre rule and L-square | Straight wooden or metal rules | Measuring and drawing straight lines and right angles |
| Tailor's chalk | White or coloured chalk or chalk pencil | Marking fabric for cutting and sewing lines |
| Tracing wheel and carbon paper | Serrated wheel, dressmaker's carbon | Transferring pattern markings to fabric |
| Pins and pin cushion | Steel, rust-resistant, 30 to 40 mm | Holding fabric pieces together temporarily |
| Hand sewing needles | Assorted sizes (sharps, betweens) | Hand sewing, tacking and finishing |
| Thimble | Metal or plastic, fits the middle finger | Protecting the finger when pushing the needle |
| Seam ripper (unpicker) | Small pointed blade with a guard ball | Removing stitches without damaging fabric |
Marking tools transfer pattern markings, such as darts, notches, pleat lines and button positions, onto the fabric accurately.
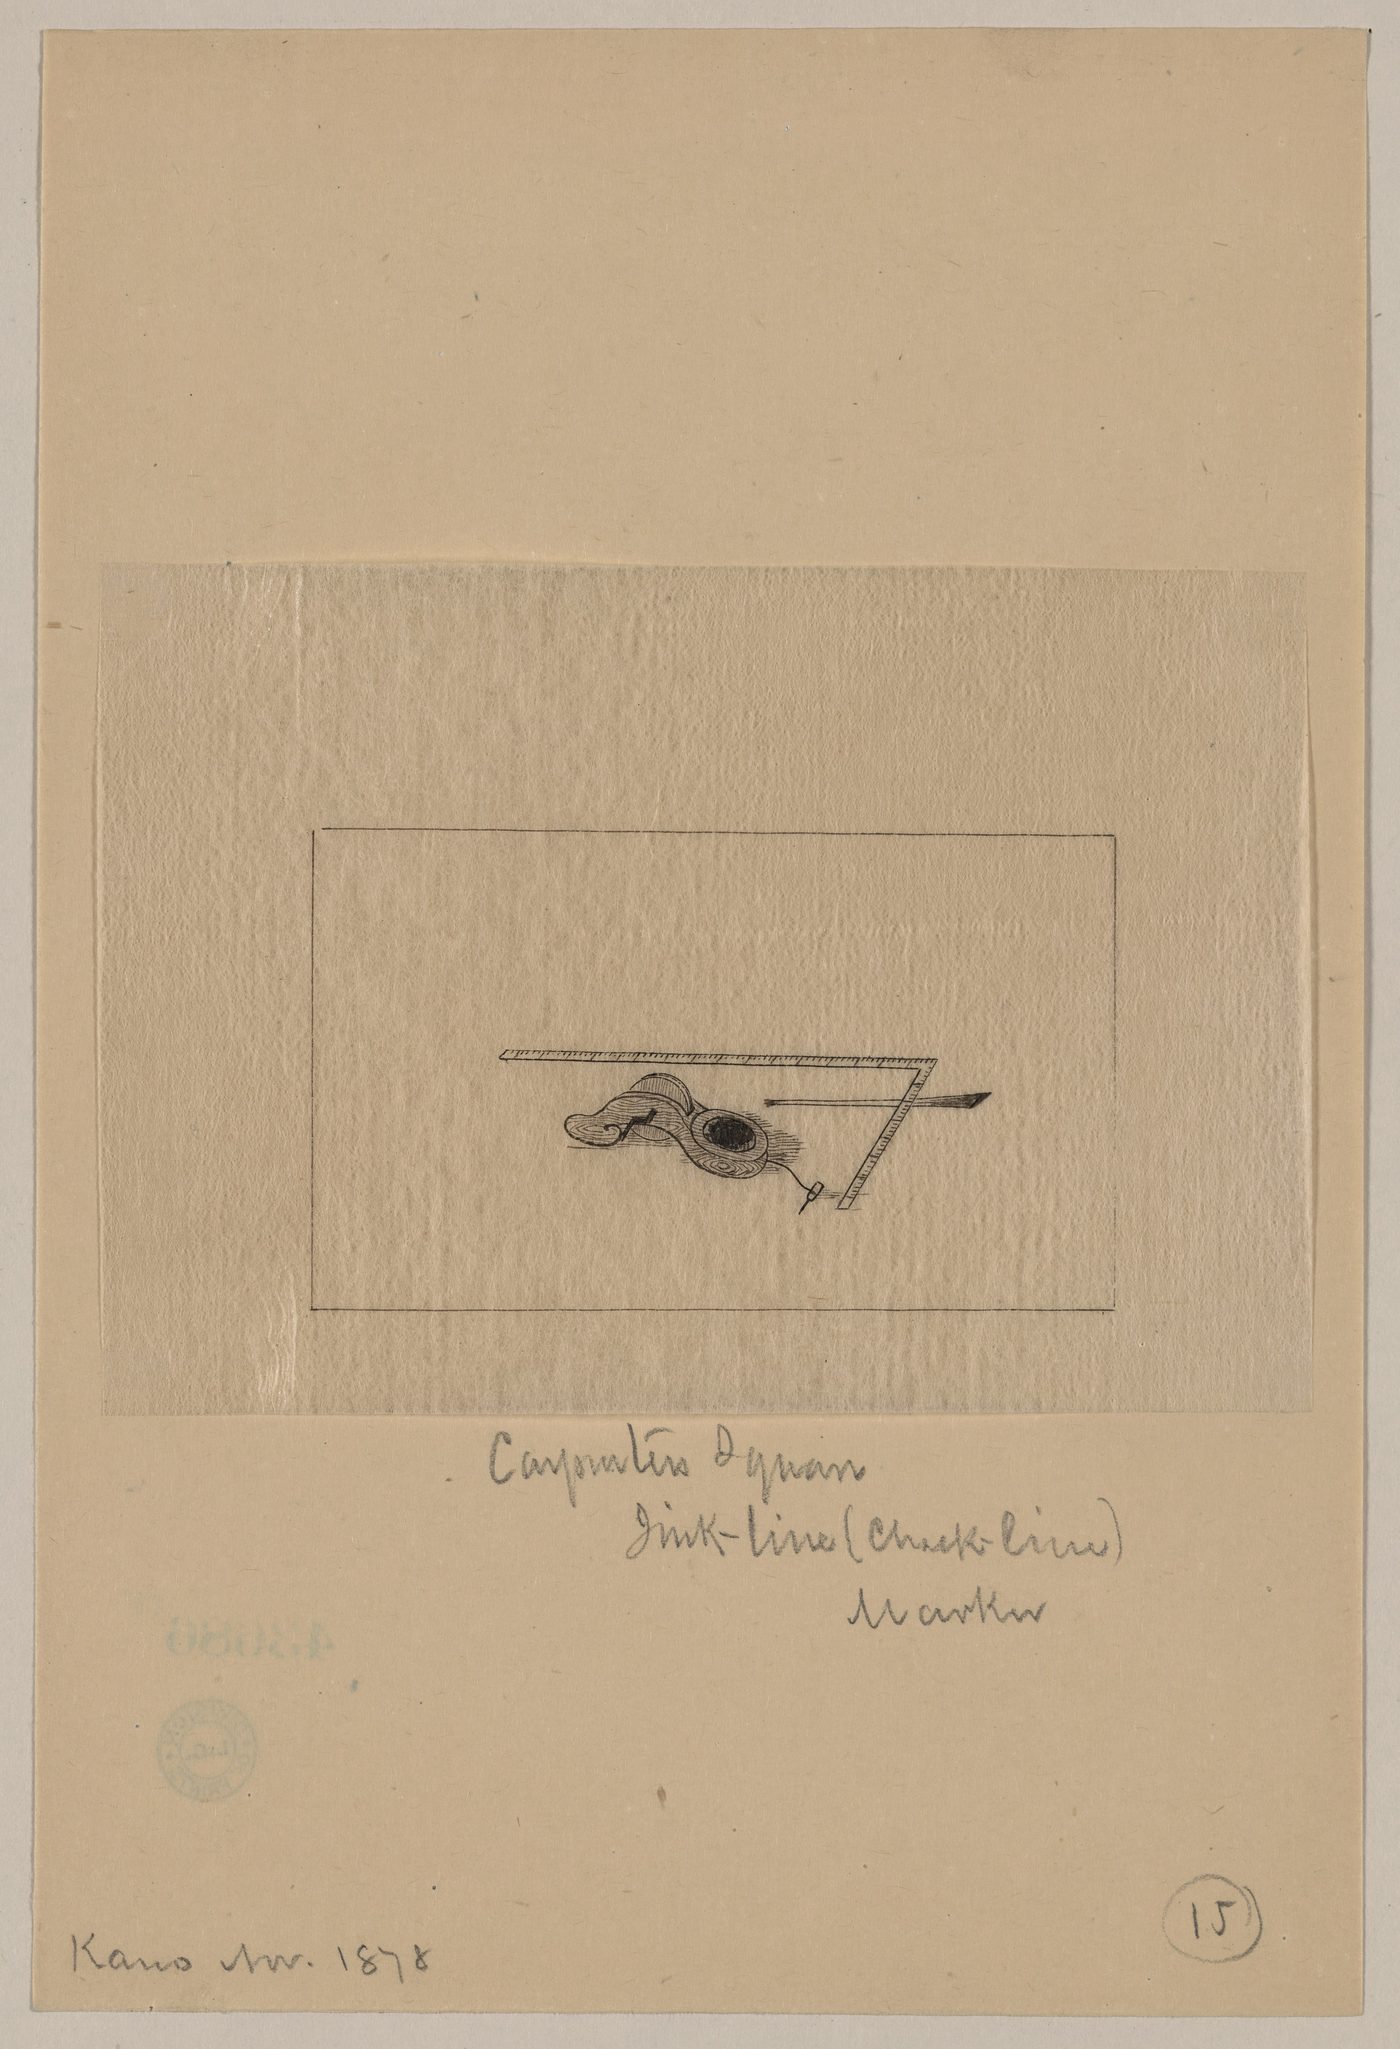
Carpenter's marking tool with sink line marker (Source: Wikimedia Commons)
| Name | Specification | Use |
|---|---|---|
| Sewing machine | Domestic or industrial; straight stitch, with zigzag on many models | Stitching fabric pieces together quickly and neatly |
| Overlocker (serger) | 3 or 4 threads, with cutting knife | Trimming and finishing raw edges to prevent fraying |
| Iron | Steam iron with adjustable heat settings | Pressing seams, darts and finished garments |
| Ironing board and pressing aids | Padded board, sleeve board, tailor's ham, pressing cloth | Pressing flat and curved areas without shine or marks |
| Dress form | Adjustable mannequin in ladies' sizes | Fitting and checking garments during construction |
| Cutting table | Large flat surface, at least 1.5 m by 1.5 m, about hip height | Spreading fabric and cutting accurately |
Create a free account to open more of this chapter.
Free: practical guides, quick cards, workplace scenarios and more.
Create a free accountThis chapter explored the essential tools, equipment, materials, and supplies required for constructing basic ladies' garments, highlighting their roles in ensuring efficient and quality garment production. It examined various sewing techniques, emphasizing the importance of mastering stitches and seam finishes to achieve durable and attractive garments. Additionally, the chapter detailed the processes involved in assembling garment pieces, demonstrating how precise joining of components results in a well-finished product. Understanding the selection and use of appropriate materials contributes significantly to the garment's functionality and appearance. The integration of suitable sewing methods with proper assembly enhances both the garment's fit and longevity. Overall, the chapter provided a comprehensive foundation for producing basic ladies' garments through careful preparation, skilled sewing, and accurate assembly.
Which of the following tools is primarily used to measure body dimensions accurately in ladies' garment construction?
a) Seam ripper
b) Measuring tape
c) Tailor’s chalk
d) Needle threader
(2 marks)
Explain the function of interfacing in garment construction. (3 marks)
At the start of this chapter we promised you would be able to:
Tick each one you can genuinely do.
So, are you there yet?
You're competent when you can confidently do 50% or more of what this chapter promised.
Sign in to record how you're doing.