
By the end of this chapter, you will be able to:
Mastering these skills helps you stay safe and focused, so you can build quality furniture with confidence and care.
Compiled by: Michael Macharia
Furniture assembly is a critical phase in carpentry and joinery, where individual components are joined to create functional and aesthetically pleasing furniture items. Mastery of assembly tools and equipment ensures precision, durability, and quality in the finished product. In Kenya, where furniture manufacturing ranges from small workshops to large factories supplying schools, hotels, and offices, understanding the correct use of assembly tools enhances efficiency and safety. This chapter explores the essential tools and equipment used in furniture assembly, focusing on their types, specifications, and practical applications in a professional carpentry context.
Furniture assembly requires a diverse range of tools tailored to specific tasks such as marking, measuring, cutting, shaping, and fastening. Each category of tools plays a unique role in ensuring that components fit together accurately and securely. Kenyan carpenters working in environments from Nairobi’s bustling furniture markets to county government workshops must be proficient with these tools to meet quality standards and client expectations.
Marking tools are fundamental in the initial stages of furniture assembly because they guide accurate cutting, drilling, and joining. Proper marking prevents errors that can compromise the structural integrity and appearance of furniture.
There are several marking tools used in carpentry, each suited for different materials and precision levels:
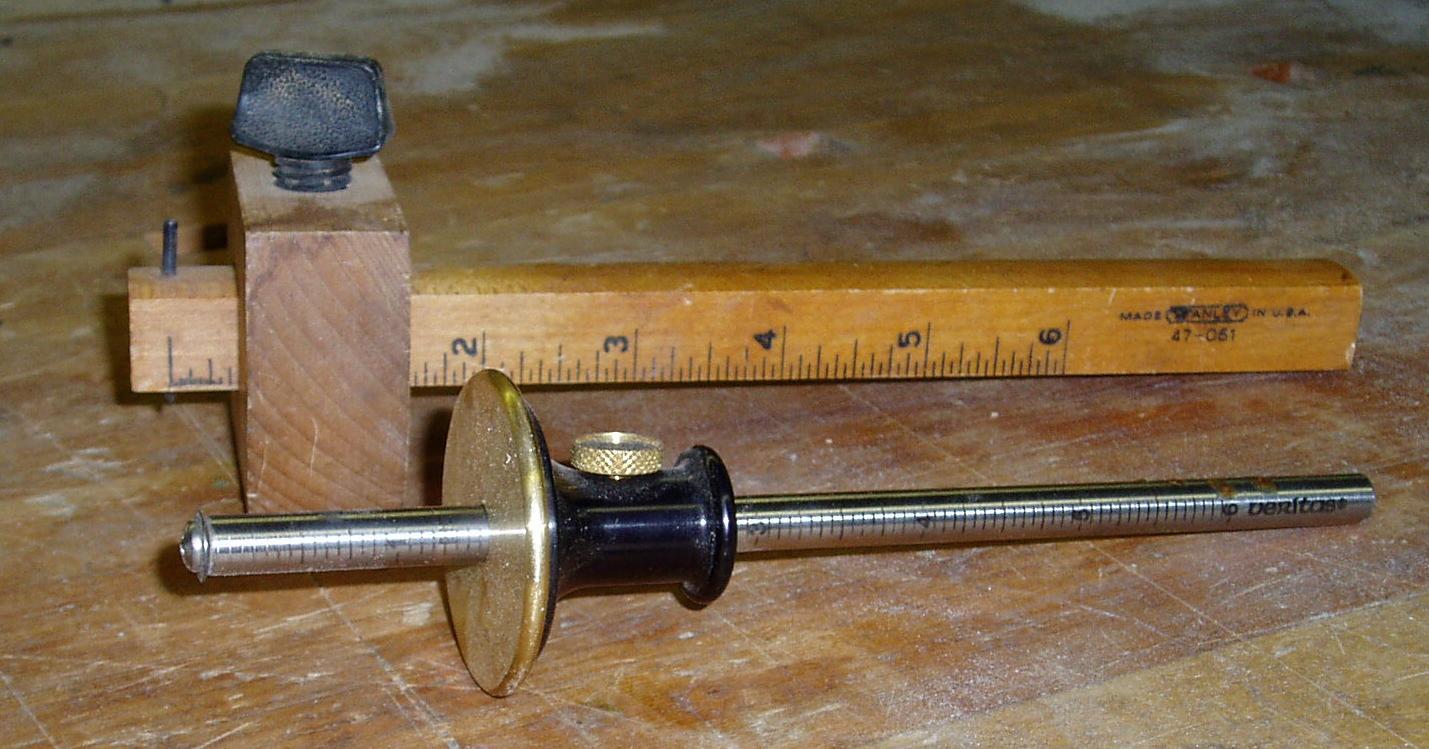
Two types of marking gauges on a wooden surface (Source: Wikipedia (Marking gauge))
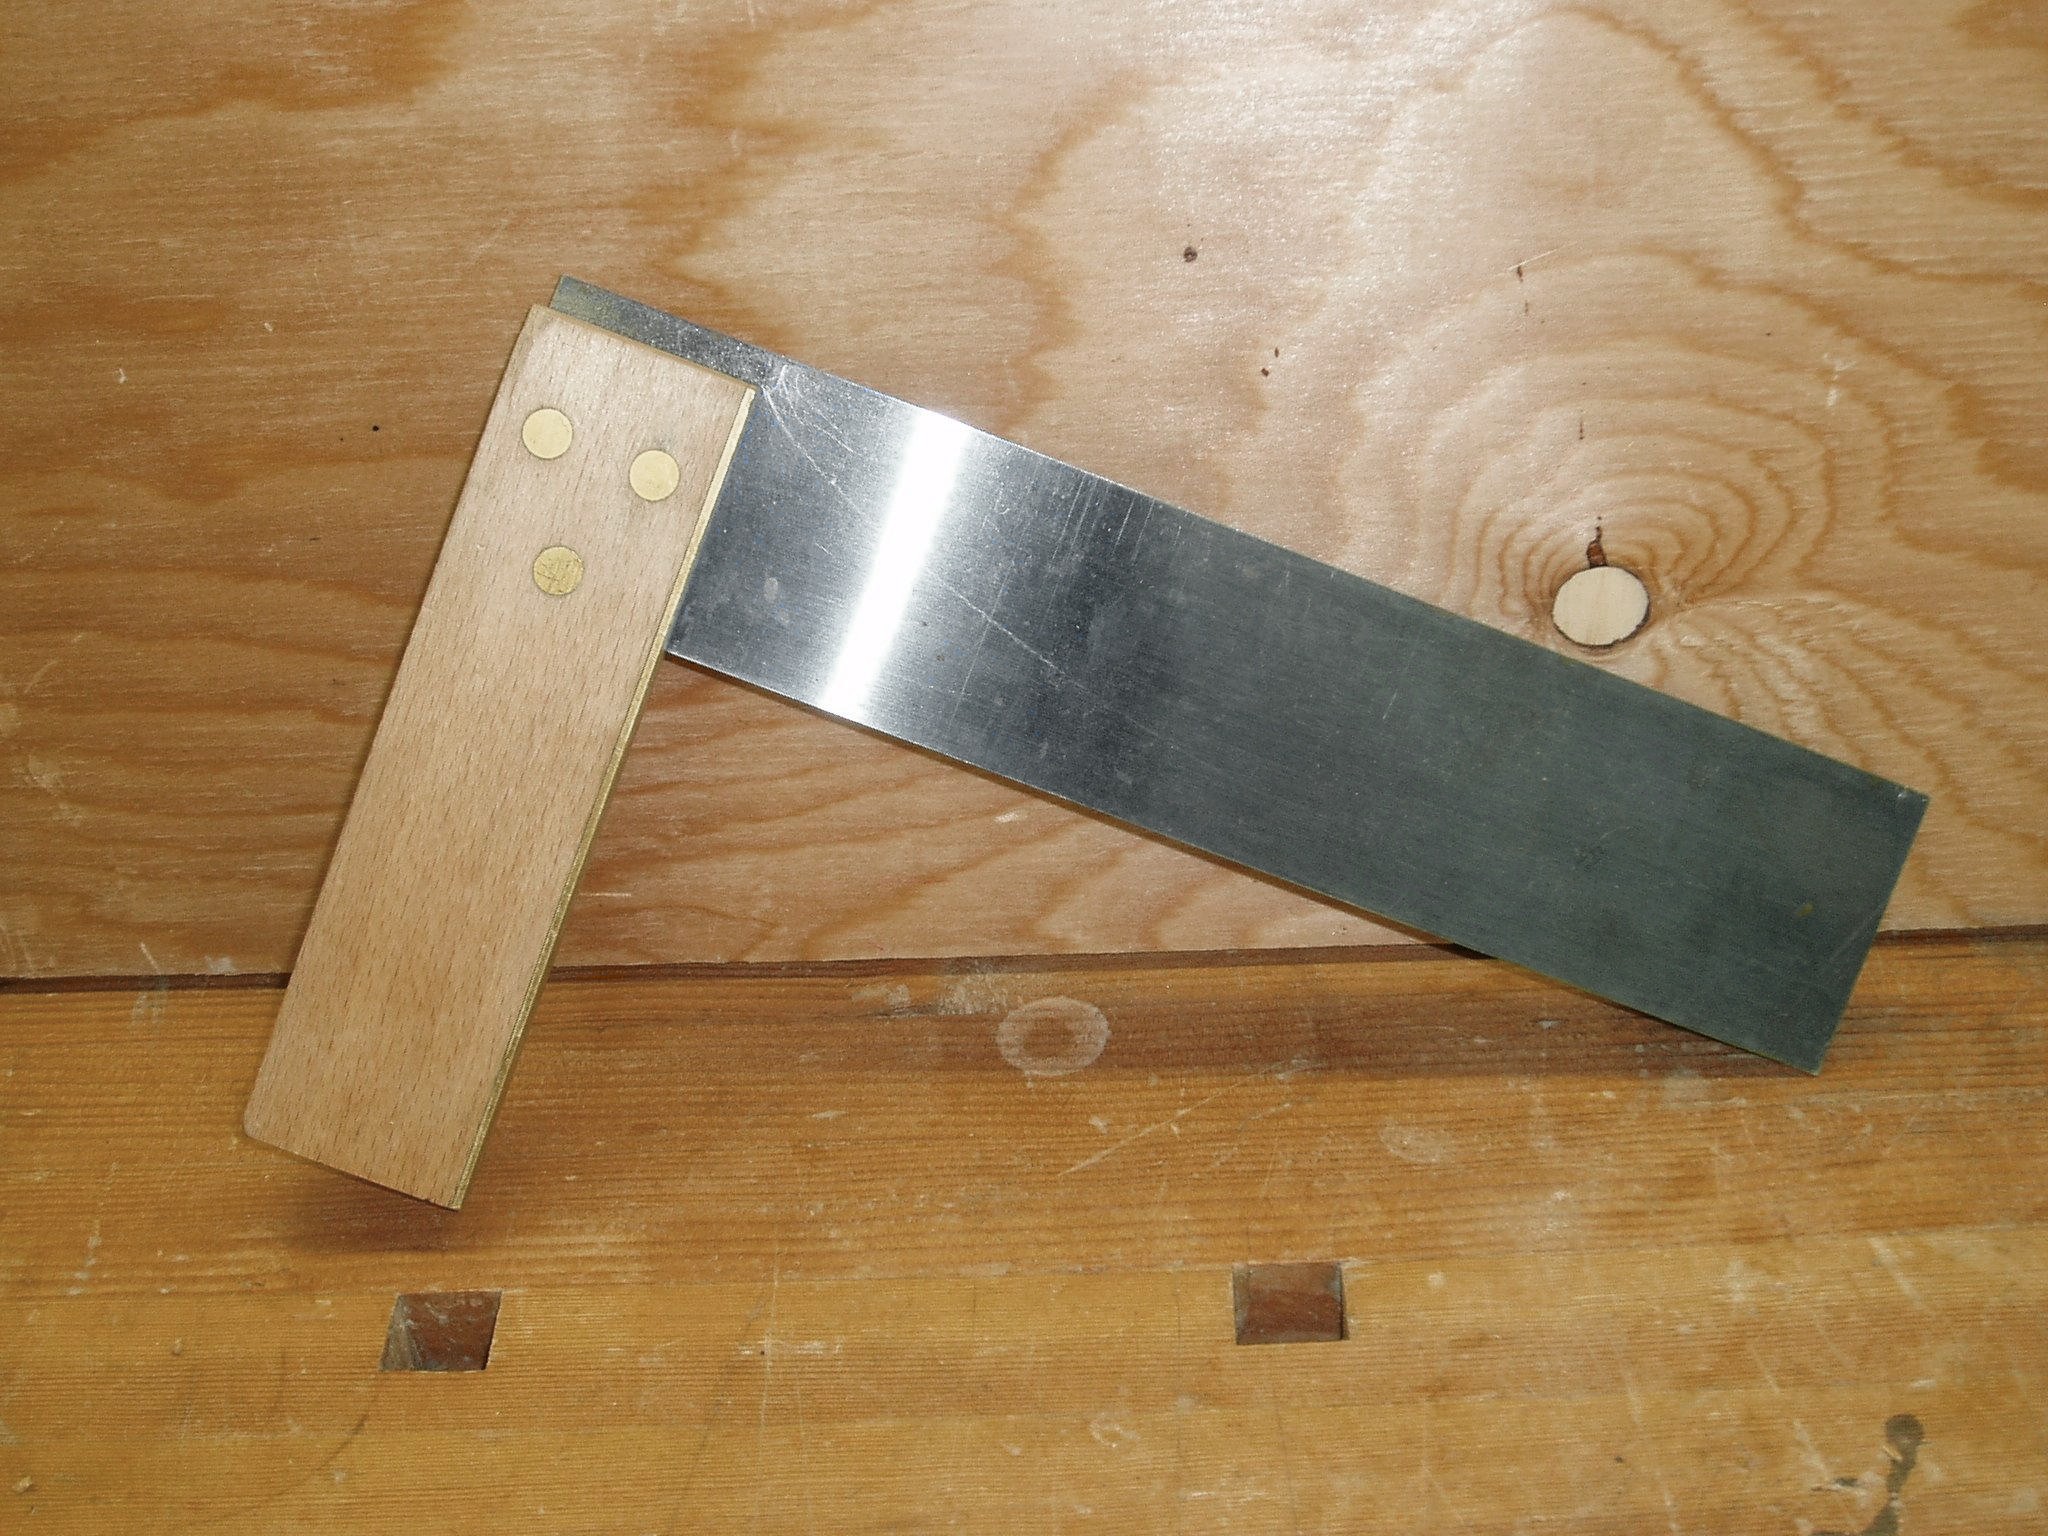
A try square on a wooden surface (Source: Wikipedia (Try square))
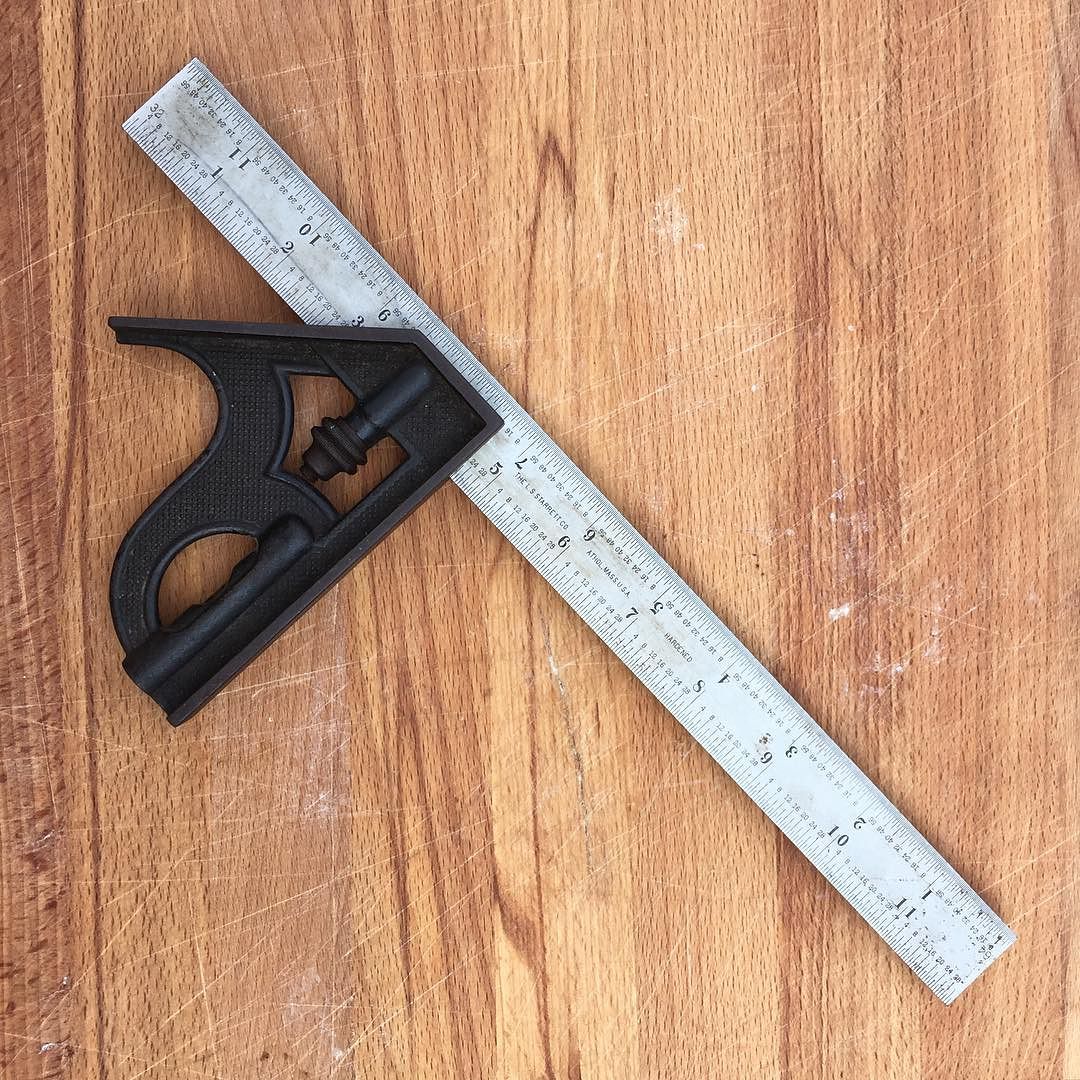
Combination square on wooden surface (Source: Wikipedia (Combination square))
Accurate marking directly influences the quality of joints and overall furniture stability. For example, at a furniture workshop supplying county government offices, precise marking ensures that cabinet doors align perfectly, enhancing both function and appearance. Poor marking leads to gaps, misalignments, and wasted materials.
Maintaining marking tools involves:
Though marking tools are generally low risk, safety practices include:
Measuring and testing tools verify dimensions and alignment, crucial for ensuring furniture parts fit together seamlessly. They help meet design specifications and quality standards, which are especially important in projects for institutions like universities or hotels where durability is essential.
Common measuring tools for furniture assembly include:
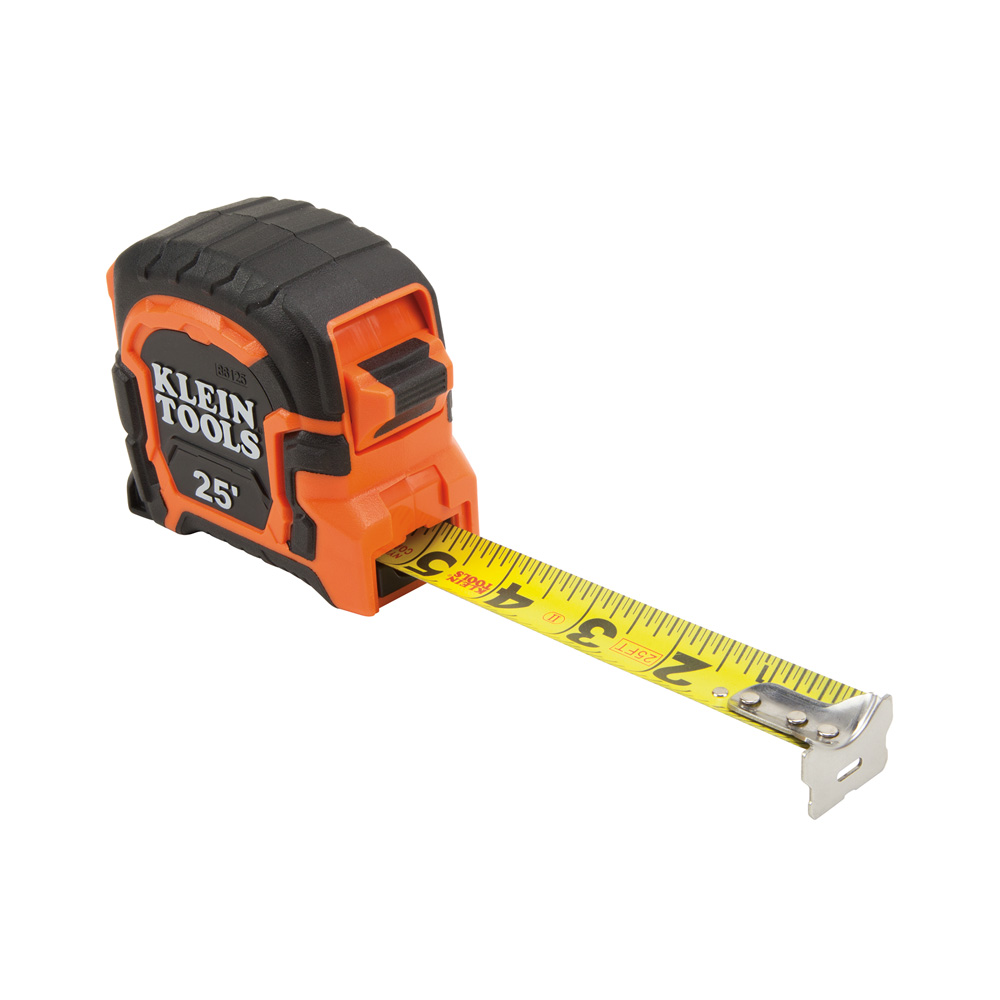
Retractable tape measure with yellow measuring tape (Source: Wikipedia (Tape measure))
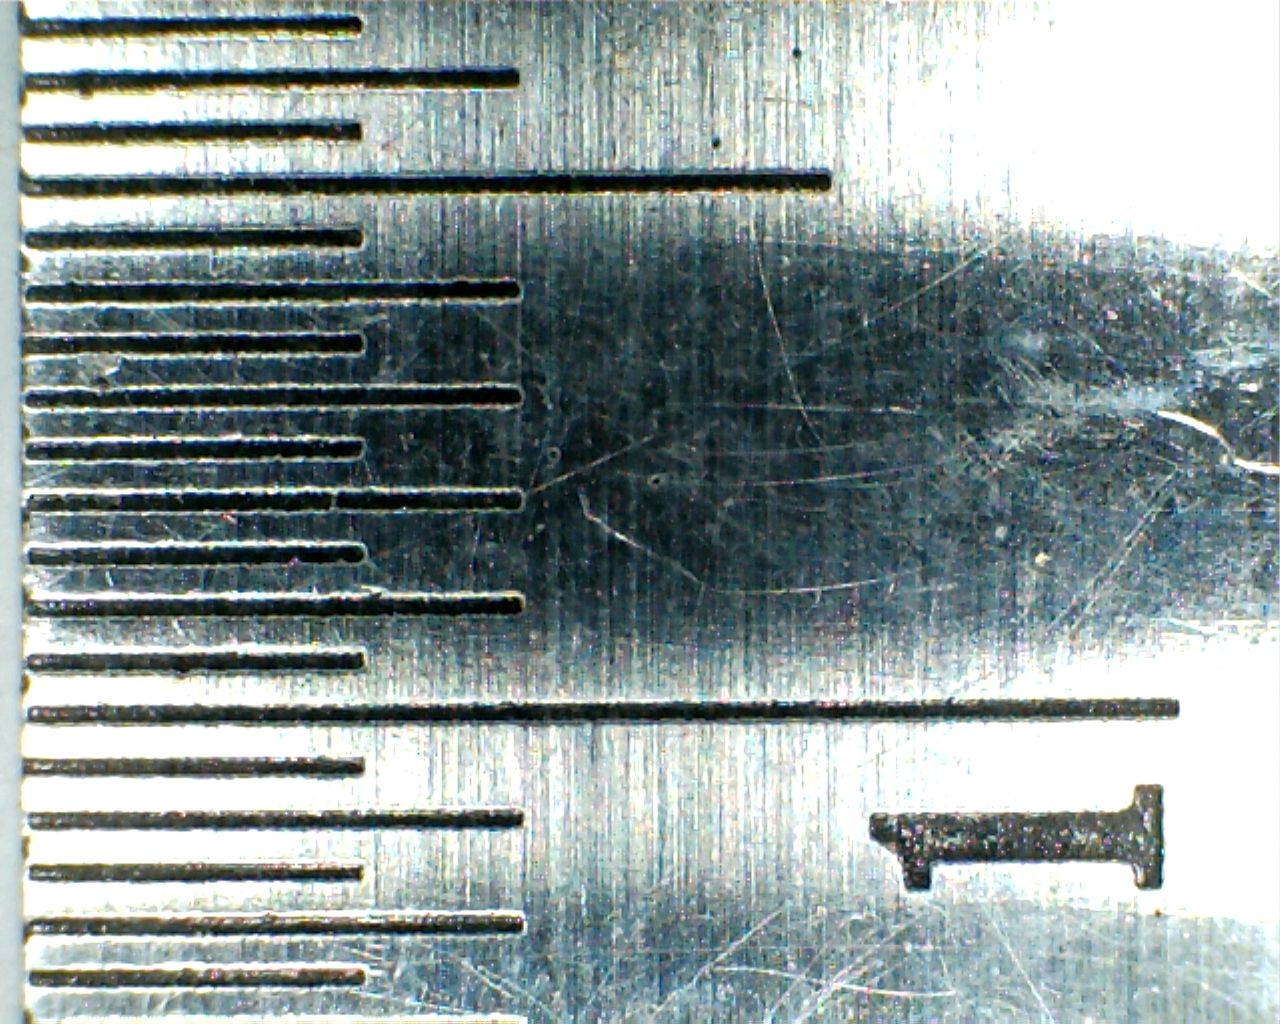
Close-up of a steel rule measuring scale (Source: Wikimedia Commons)
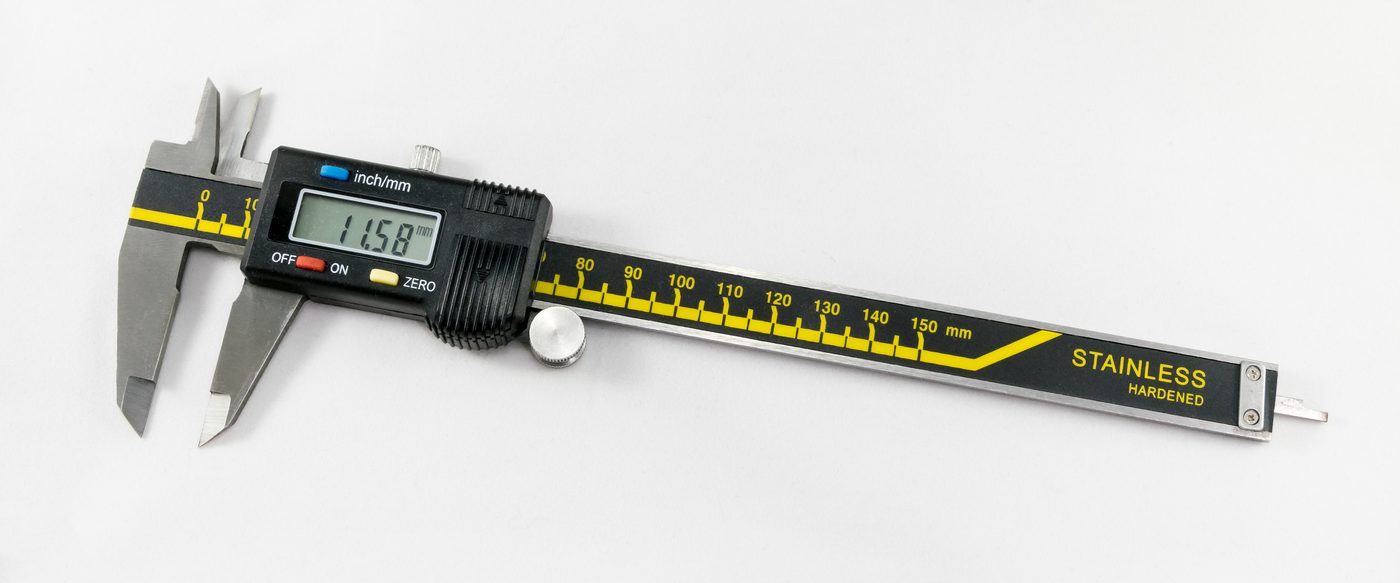
Digital caliper for precise measurements (Source: Wikimedia Commons)
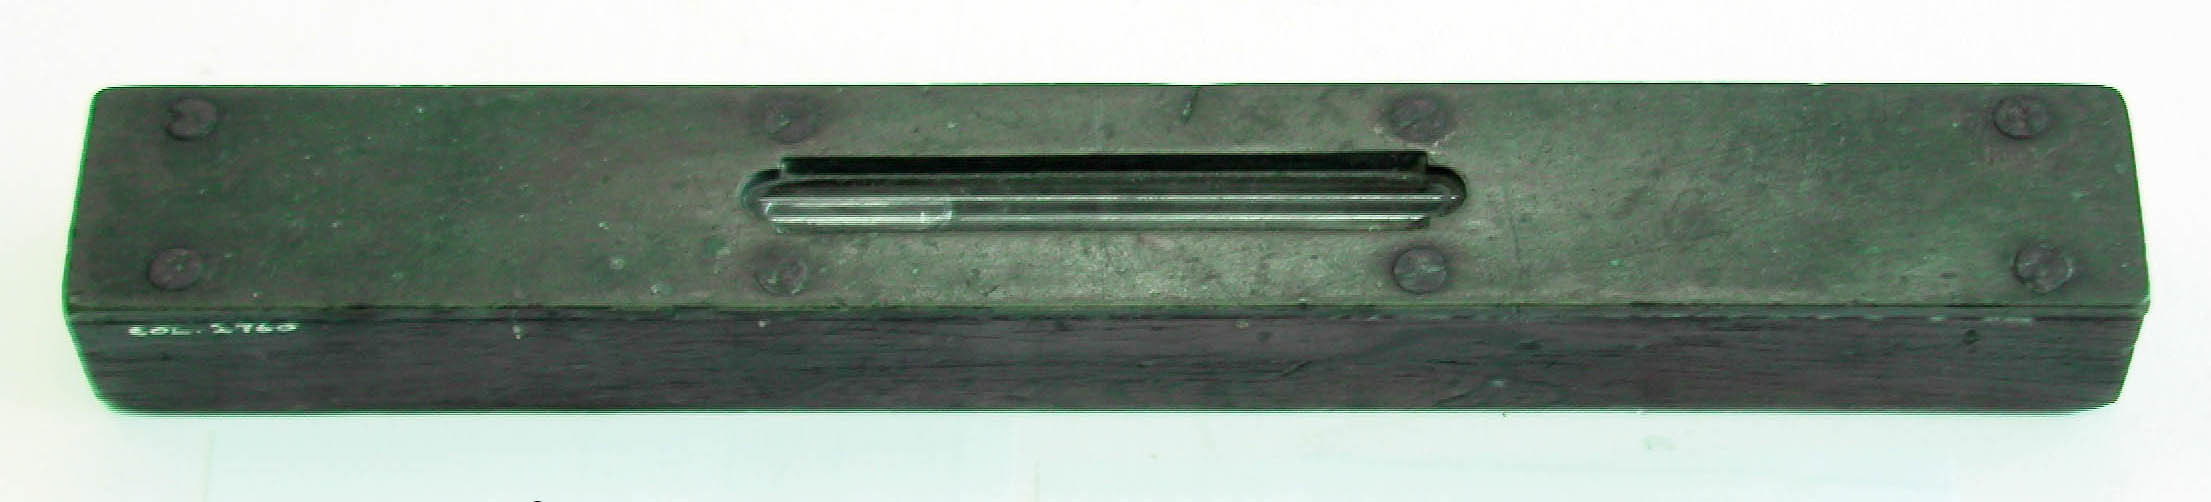
A traditional spirit level tool (Source: Wikimedia Commons)
Testing tools assess the accuracy of assembly and the quality of joints:
Feeler Gauges: Measure gaps between parts to ensure tight joints.
Try Square and Bevel Gauge: Check angles and squareness of assembled components.
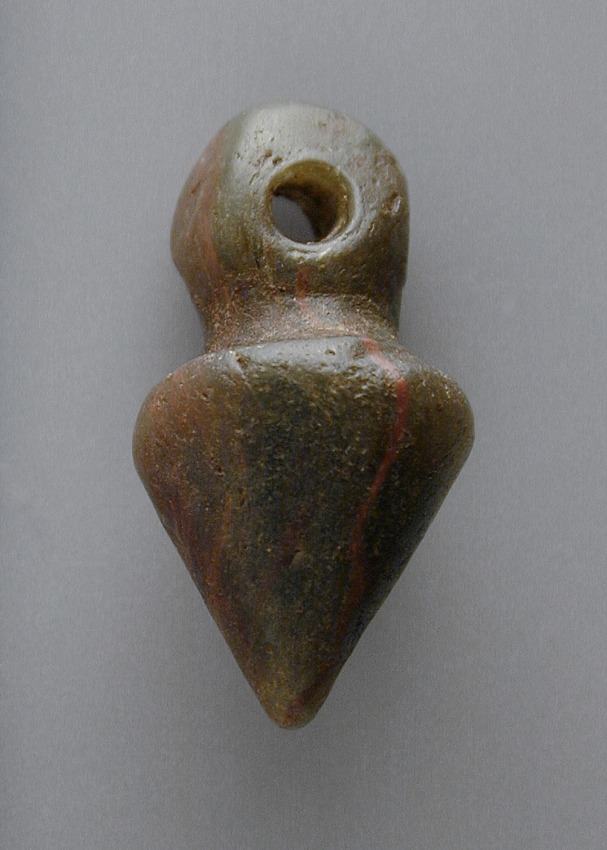
A plumb bob for vertical alignment (Source: Wikimedia Commons)
Maintaining accuracy requires:
At a Nairobi-based furniture manufacturer supplying hotels, spirit levels and tape measures are used daily to verify the squareness of dining tables and the uniformity of chair legs, ensuring products meet client specifications and safety standards.
Driving tools are used for inserting fasteners such as nails, screws, and bolts that hold furniture components together. The choice of driving tool affects the speed, precision, and strength of the assembly.
Driving tools include:
Hammer: The traditional tool for driving nails and adjusting joints.
Screwdrivers: Manual or powered, used for driving screws; available in flathead, Phillips, and Pozidriv types.
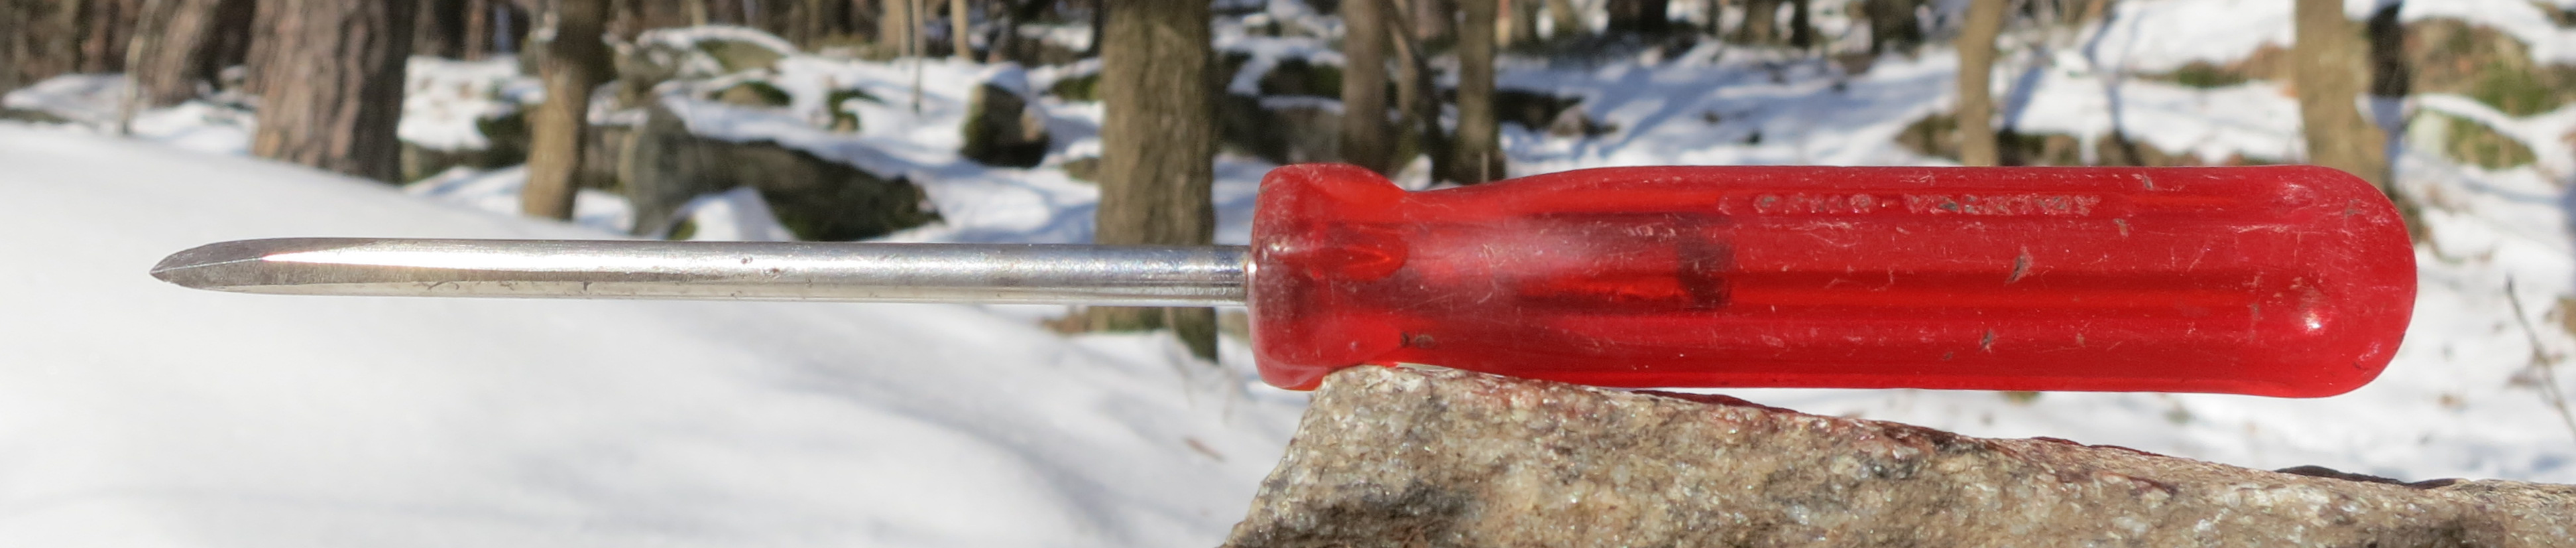
Red-handled screwdriver on rock outdoors (Source: Wikimedia Commons)
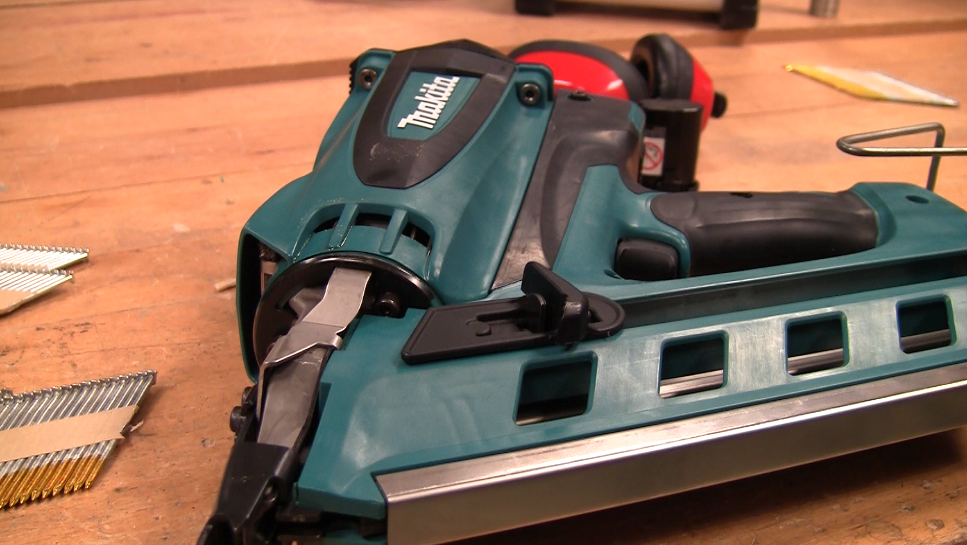
Makita brand nail gun on workbench (Source: Wikimedia Commons)
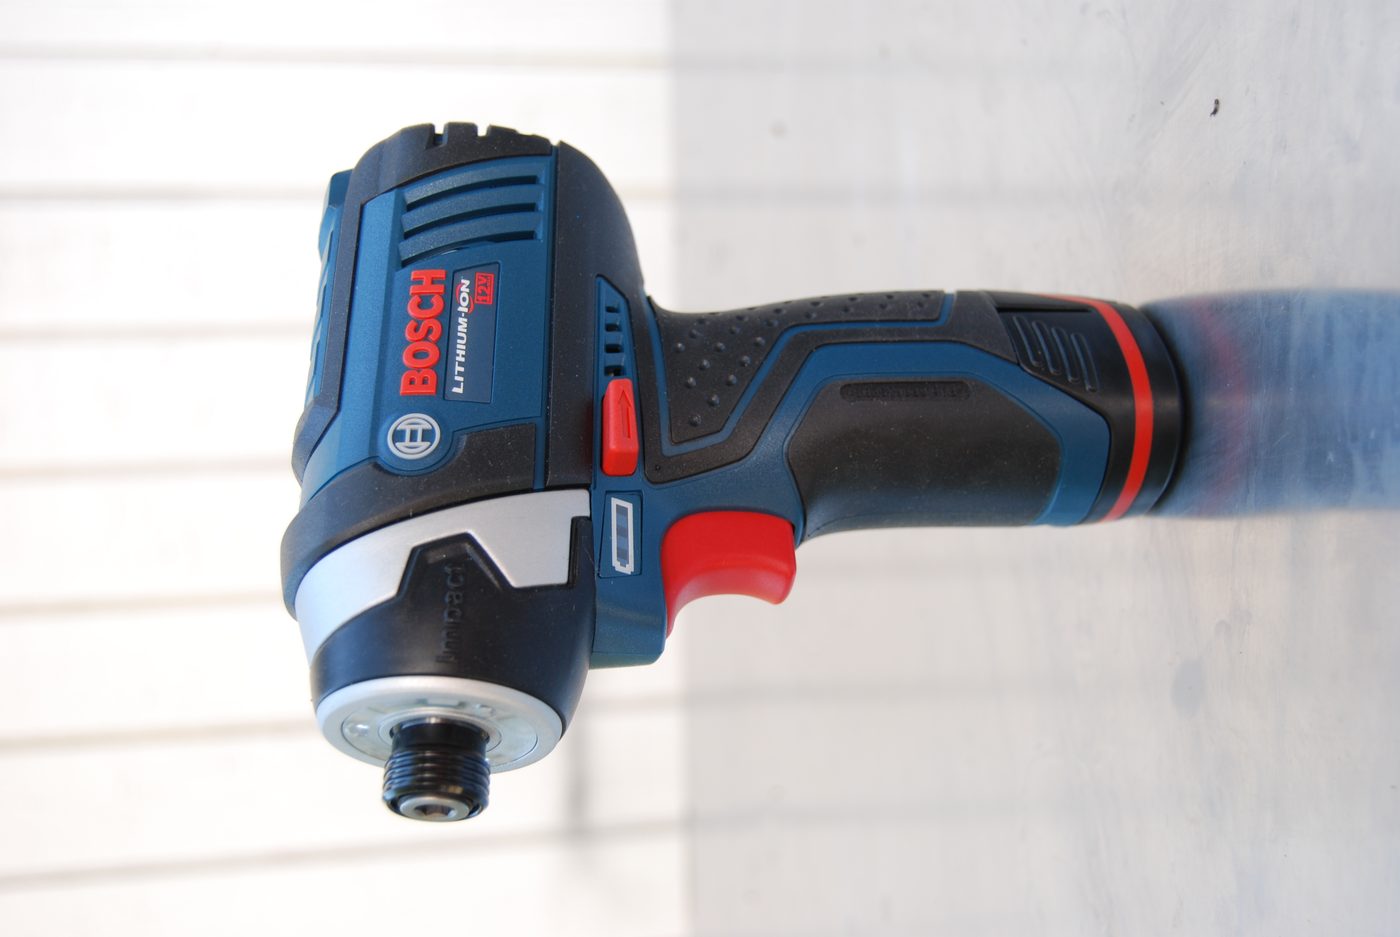
Bosch cordless impact driver tool (Source: Wikimedia Commons)
The choice depends on:
Maintaining driving tools involves:
Safety measures include:
Cutting tools shape timber components to exact sizes and profiles necessary for furniture assembly. Skillful use of cutting tools minimizes waste and enhances fit and finish.
| Name | Specification | Use |
|---|---|---|
| Handsaw | Various types: crosscut, rip saw | Manual cutting of timber along grain or across grain |
| Circular Saw | Electric, blade diameter 7-10 inches | Fast, straight cuts on large panels and boards |
| Jigsaw | Electric, orbital action | Curved and intricate cuts on wood and laminates |
| Chisels | Various widths, sharp steel blades | Paring and cleaning joints and recesses |
| Plane | Hand tool with adjustable blade | Smoothing and leveling timber surfaces |
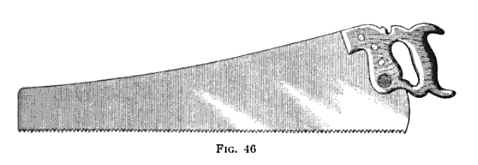
Traditional handsaw with wooden handle (Source: Wikimedia Commons)
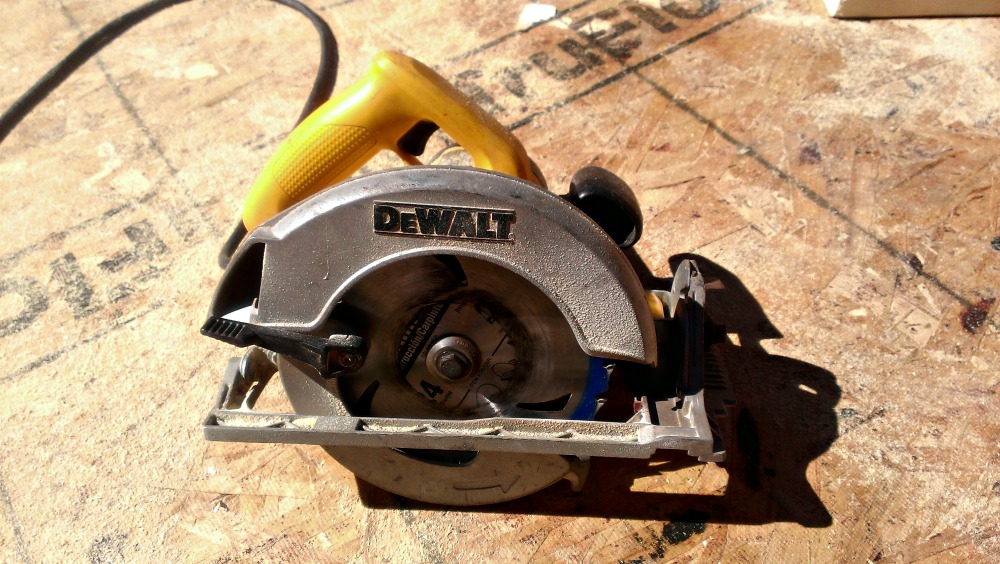
DeWalt circular saw on wooden surface (Source: Wikimedia Commons)
Jigsaws excel in cutting curves and detailed shapes for decorative pieces.
Chisels enable precise shaping and cleaning of joints.
Planes smooth surfaces and reduce thickness to achieve perfect fits.
Effective cutting requires:
Fixing tools are used to secure components in place during and after assembly. They aid in holding parts steady to allow for precise joining and finishing.
| Name | Specification | Use |
|---|---|---|
| Clamps | Various types: G-clamps, bar clamps | Holding components firmly during gluing or fastening |
| Vices | Bench-mounted, adjustable jaws | Securing small components for shaping or assembly |
| Staple Gun | Manual or electric, uses staples | Attaching upholstery or thin panels |
| Pliers | Multiple types: needle-nose, slip-joint | Holding, bending, or twisting small parts and wires |
| Mallet | Wooden or rubber head | Tapping joints without damaging timber |
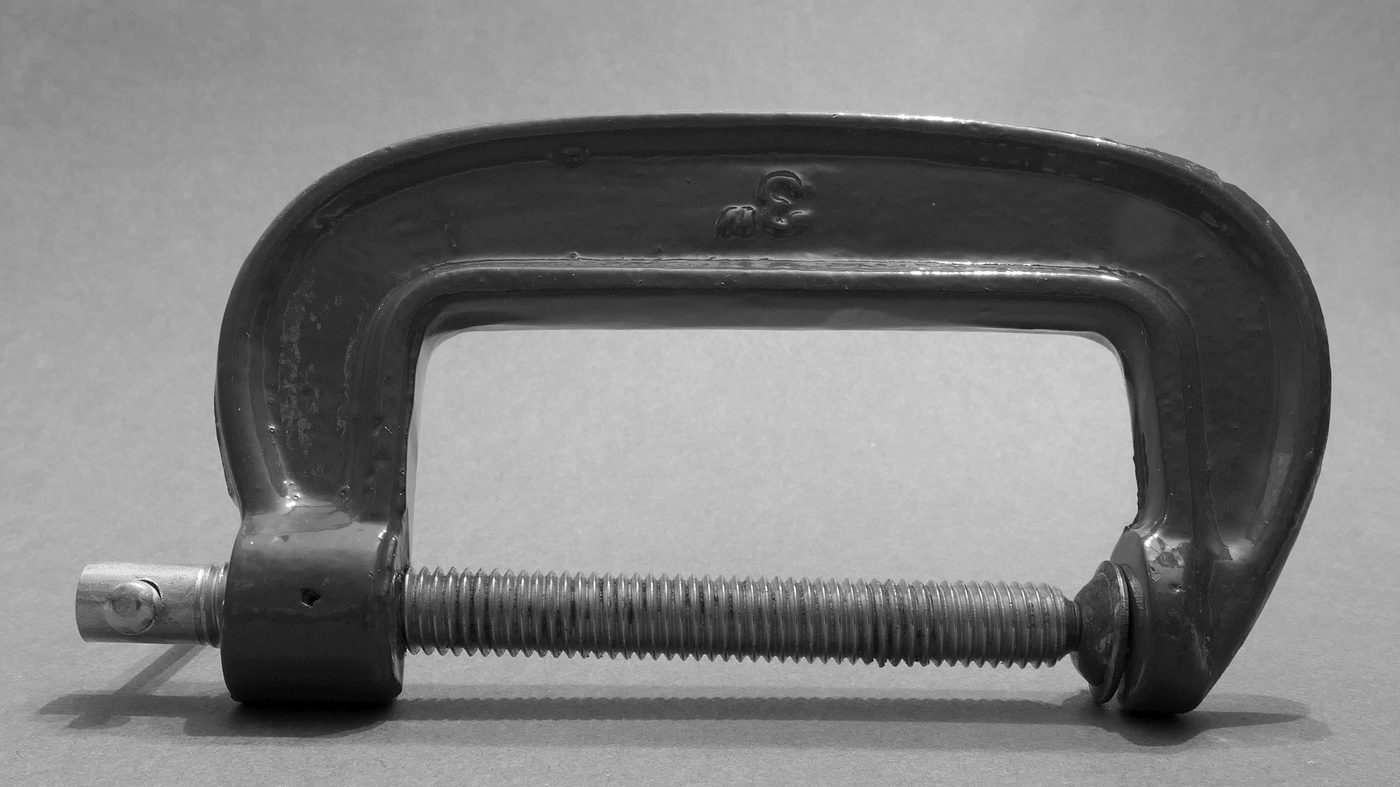
Black metal G-clamp on gray background (Source: Wikimedia Commons)
Bar clamps span wider areas, useful for larger panels or frames.
Spring clamps offer quick, light pressure for temporary holding.
Planning and shaping tools refine timber surfaces and profiles, essential for achieving the final dimensions and smooth finishes required in quality furniture.
| Name | Specification | Use |
|---|---|---|
| Hand Plane | Various types: jack, smoothing, block | Leveling, smoothing, and thickness adjustment |
| Spokeshave | Small, double-handled blade tool | Shaping curves and rounded edges |
| Rasp | Coarse file with wooden handle | Removing rough material and shaping |
| Surform | Metal blade with holes, hand tool | Rapid shaping of soft woods and laminates |
| Router | Electric, various bit profiles | Cutting grooves, edges, and decorative profiles |
In a Nairobi hotel furniture workshop, routers and hand planes are used extensively to produce smooth, elegant finishes on bespoke tables and cabinets that meet high customer standards.
Create a free account to open more of this chapter.
Free: practical guides, quick cards, workplace scenarios and more.
Create a free accountThis chapter has explored the essential tools and equipment used in assembling timber furniture, covering marking, measuring, driving, cutting, fixing, and shaping tools. It detailed various methods for fixing furniture joints and highlighted the qualities that define a strong and durable joint. The chapter also examined different materials used in furniture assembly, including glues, nails, and dowels, explaining their applications and importance. Emphasis was placed on the critical role of quality control in ensuring the strength and stability of furniture items. Additionally, the chapter discussed how workmanship impacts the final product's durability and aesthetic appeal. By understanding these components, learners are equipped to assemble furniture that meets functional and quality standards.
Type: Individual
| Tools & Equipment | Materials |
|---|---|
| Tape measure (3m) | Personal Protective Equipment (PPE) - Safety boots, helmet, overall |
| Try square | |
| Marking gauge | |
| Wood pencil | |
| Spirit level (600mm) | |
| Feeler gauge | |
| Combination square | |
| Surface gauge |
| S/N | Item | Quantity |
|---|---|---|
| 1 | Tape measure (3m) | 1 Pc per Candidate |
| 2 | Try square | 1 Pc per Candidate |
| 3 | Marking gauge | 1 Pc per Candidate |
| 4 | Wood pencil | 1 Pc per Candidate |
| 5 | Spirit level (600mm) | 1 Pc per Candidate |
| 6 | Feeler gauge | 1 set per 5 Candidates |
| 7 | Combination square | 1 Pc per Candidate |
| 8 | Surface gauge | 1 Pc per Candidate |
| 9 | Personal Protective Equipment (PPE) - Safety boots, helmet, overall | As appropriate |
| Items to be Evaluated | Marks Available | Marks Obtained | Comments |
|---|---|---|---|
| TASK 1: Preparation and tool assembly | |||
| Wore all required Personal Protective Equipment (Award 1 mark each for safety boots, helmet, overall or zero) | 3 | ||
| Collected all specified marking, measuring and testing tools (Award 2 marks for complete assembly or zero) | 2 | ||
| Set out and marked timber pieces accurately using marking gauge and wood pencil (Award 3 marks for correct and clear marking or zero) | 3 | ||
| Sub-Total | 8 | ||
| TASK 2: Measuring and testing application | |||
| Measured timber lengths and widths accurately using tape measure and combination square (Award 3 marks for accuracy or zero) | 3 | ||
| Checked squareness of cabinet frame corners with try square (Award 3 marks for correct use or zero) | 3 | ||
| Tested flatness and level using surface gauge and spirit level (Award 3 marks for proper testing or zero) | 3 | ||
| Sub-Total | 9 | ||
| PRODUCT CHECKLIST | |||
| Marked cabinet frame timber showing correct 1200mm length and 600mm width (Award 2 marks for each dimension accurately marked or zero) | 4 | ||
| Measured and verified height of 750mm within ±2mm tolerance (Award 3 marks for correct measurement or zero) | 3 | ||
| All corners tested and confirmed square using try square (Award 3 marks for all corners square or zero) | 3 | ||
| Flatness and levelness confirmed with spirit level and surface gauge (Award 3 marks for correct testing or zero) | 3 | ||
| Sub-Total | 13 | ||
| GRAND TOTAL | 30 | ||
Type: Individual
| Tools & Equipment | Materials |
|---|---|
| Try square | Cypress timber; size 200mm x 25mm x 2400mm |
| Crosscut saw | 50 mm (2") wire nails |
| Tenon saw | Wood glue |
| Bench vice | Glass paper No. 1 |
| Claw hammer | Personal Protective Equipment (PPE) including Safety Boots, Helmet, Overall |
| Wood pencil | |
| Tape measure (3m) | |
| Planes - Jack, Smoothing and Spoke shave | |
| Mallet | |
| Chisels (1/4", 1/2", 3/4") | |
| Portable electric saw | |
| Clamps - Sash and G clamps | |
| Wood working vice |
| S/N | Item | Quantity |
|---|---|---|
| 1 | Cypress timber; size 200mm x 25mm x 2400mm | 1 Pc per Candidate |
| 2 | Try square | 1 Pc per Candidate |
| 3 | Crosscut saw | 1 Pc per 4 Candidates |
| 4 | Tenon saw | 1 Pc per 4 Candidates |
| 5 | Bench vice | 1 Pc per 4 Candidates |
| 6 | Claw hammer | 1 Pc per Candidate |
| 7 | Wood pencil | 1 Pc per Candidate |
| 8 | Tape measure (3m) | 1 Pc per Candidate |
| 9 | Glass paper No. 1 | 2 Pcs per Candidate |
| 10 | Personal Protective Equipment (PPE) including Safety Boots, Helmet, Overall | As required per Candidate |
| 11 | Wood glue | Sufficient per Candidate |
| 12 | Clamps - Sash and G clamps | 1 Pc per 5 Candidates |
| 13 | Portable electric saw | 1 Pc per 5 Candidates |
| 14 | Chisels (1/4", 1/2", 3/4") | 1 set per 5 Candidates |
| 15 | Wood working vice | 1 Pc per 4 Candidates |
| 16 | Planes - Jack, Smoothing and Spoke shave | 1 set per 5 Candidates |
| 17 | Mallet | 1 Pc per Candidate |
| 18 | 50 mm (2") wire nails | 15 Nos per Candidate |
| Items to be Evaluated | Marks Available | Marks Obtained | Comments |
|---|---|---|---|
| TASK 1: Preparation and Cutting | |||
| Wore Personal Protective Equipment correctly (Award 1 mark each for Safety Boots, Helmet, Overall or zero) | 3 | ||
| Assembled and prepared tools and equipment before starting (Award 2 marks for complete assembly or zero) | 2 | ||
| Measured and marked timber components accurately according to dimensions (Award 3 marks for all correct markings or zero) | 3 | ||
| Cut timber components to specified dimensions using appropriate cutting tools (Award 4 marks for accurate cutting or zero) | 4 | ||
| Dry fitted timber components to check accuracy of cuts (Award 2 marks for successful dry fitting or zero) | 2 | ||
| Performed smoothing and finishing of cut surfaces using planes and glass paper (Award 2 marks for smooth finish or zero) | 2 | ||
| Maintained good housekeeping by clearing work area and storing tools properly (Award 2 marks for proper housekeeping or zero) | 2 | ||
| Sub-Total | 18 | ||
| PRODUCT CHECKLIST | |||
| Timber components cut to correct dimensions (900mm length, 400mm width, 25mm thickness) (Award 2 marks for each correct dimension or zero) | 10 | ||
| Edges and surfaces are smooth and free from splinters (Award 4 marks for smooth surfaces or zero) | 4 | ||
| Components fit together tightly in dry fitting without gaps (Award 6 marks for tight joints or zero) | 6 | ||
| All cut components are square and true as per try square verification (Award 6 marks for all corners square or zero) | 6 | ||
| Overall completion and appearance of cut components (Award 6 marks for completeness and neatness or zero) | 6 | ||
| Sub-Total | 32 | ||
| GRAND TOTAL | 50 | ||
At the start of this chapter we promised you would be able to:
Tick each one you can genuinely do.
So, are you there yet?
You're competent when you can confidently do 50% or more of what this chapter promised.
Sign in to record how you're doing.