Erecting doors and windows is a fundamental task for carpentry and joinery professionals in Kenya, requiring precision, safety, and the right tools. This chapter focuses on the essential safety equipment and specialized tools necessary for the proper installation of doors and windows. Understanding and using personal protective equipment (PPE) correctly safeguards workers against common hazards on construction sites. Additionally, mastering the tools and equipment not only improves efficiency but also ensures the installation meets quality and durability standards expected in Kenyan construction projects.
4.1 Personal protective equipment (PPEs)
Personal protective equipment is critical in carpentry and joinery to prevent injuries during door and window erection. In Kenya, where construction sites are often busy and physically demanding, PPE helps reduce risks from sharp tools, heavy materials, and working at heights. This section details the types of PPE essential for carpentry work and explains how they protect workers while promoting safe working environments.
4.1.1 Types of Personal Protective Equipment for Door and Window Installation
- Safety Helmets: Protect the head from falling objects and accidental bumps, crucial when working under scaffolding or in crowded sites.
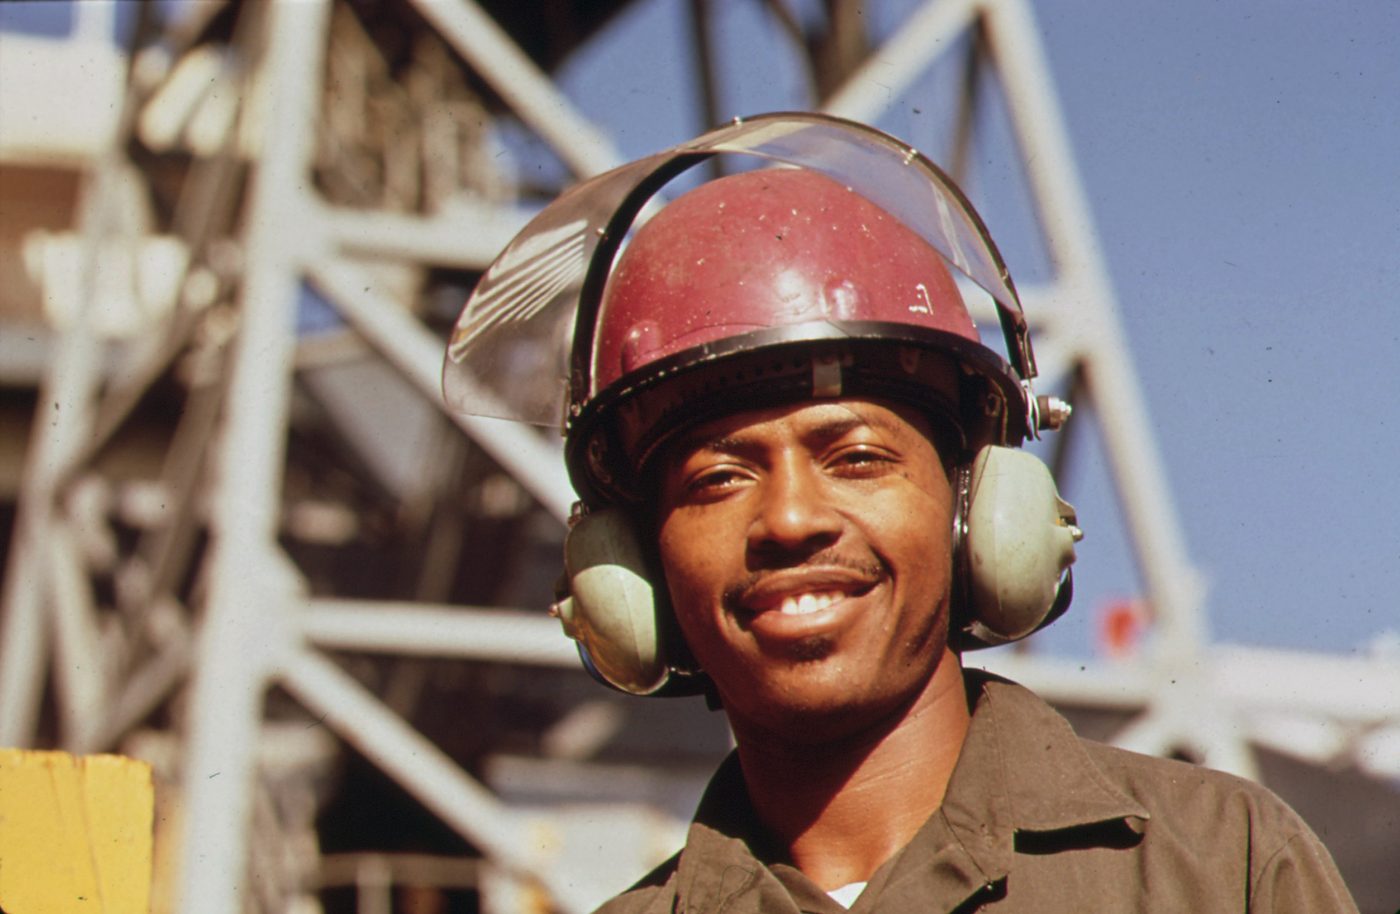
Man wearing a safety helmet (Source: Wikimedia Commons)
- Eye Protection: Safety goggles or face shields guard against wood chips, dust, and splinters that can cause serious eye injuries during cutting or chiselling.
- Hand Gloves: Durable gloves protect hands from sharp edges of metal fittings, splinters, and abrasions when handling timber and hardware.
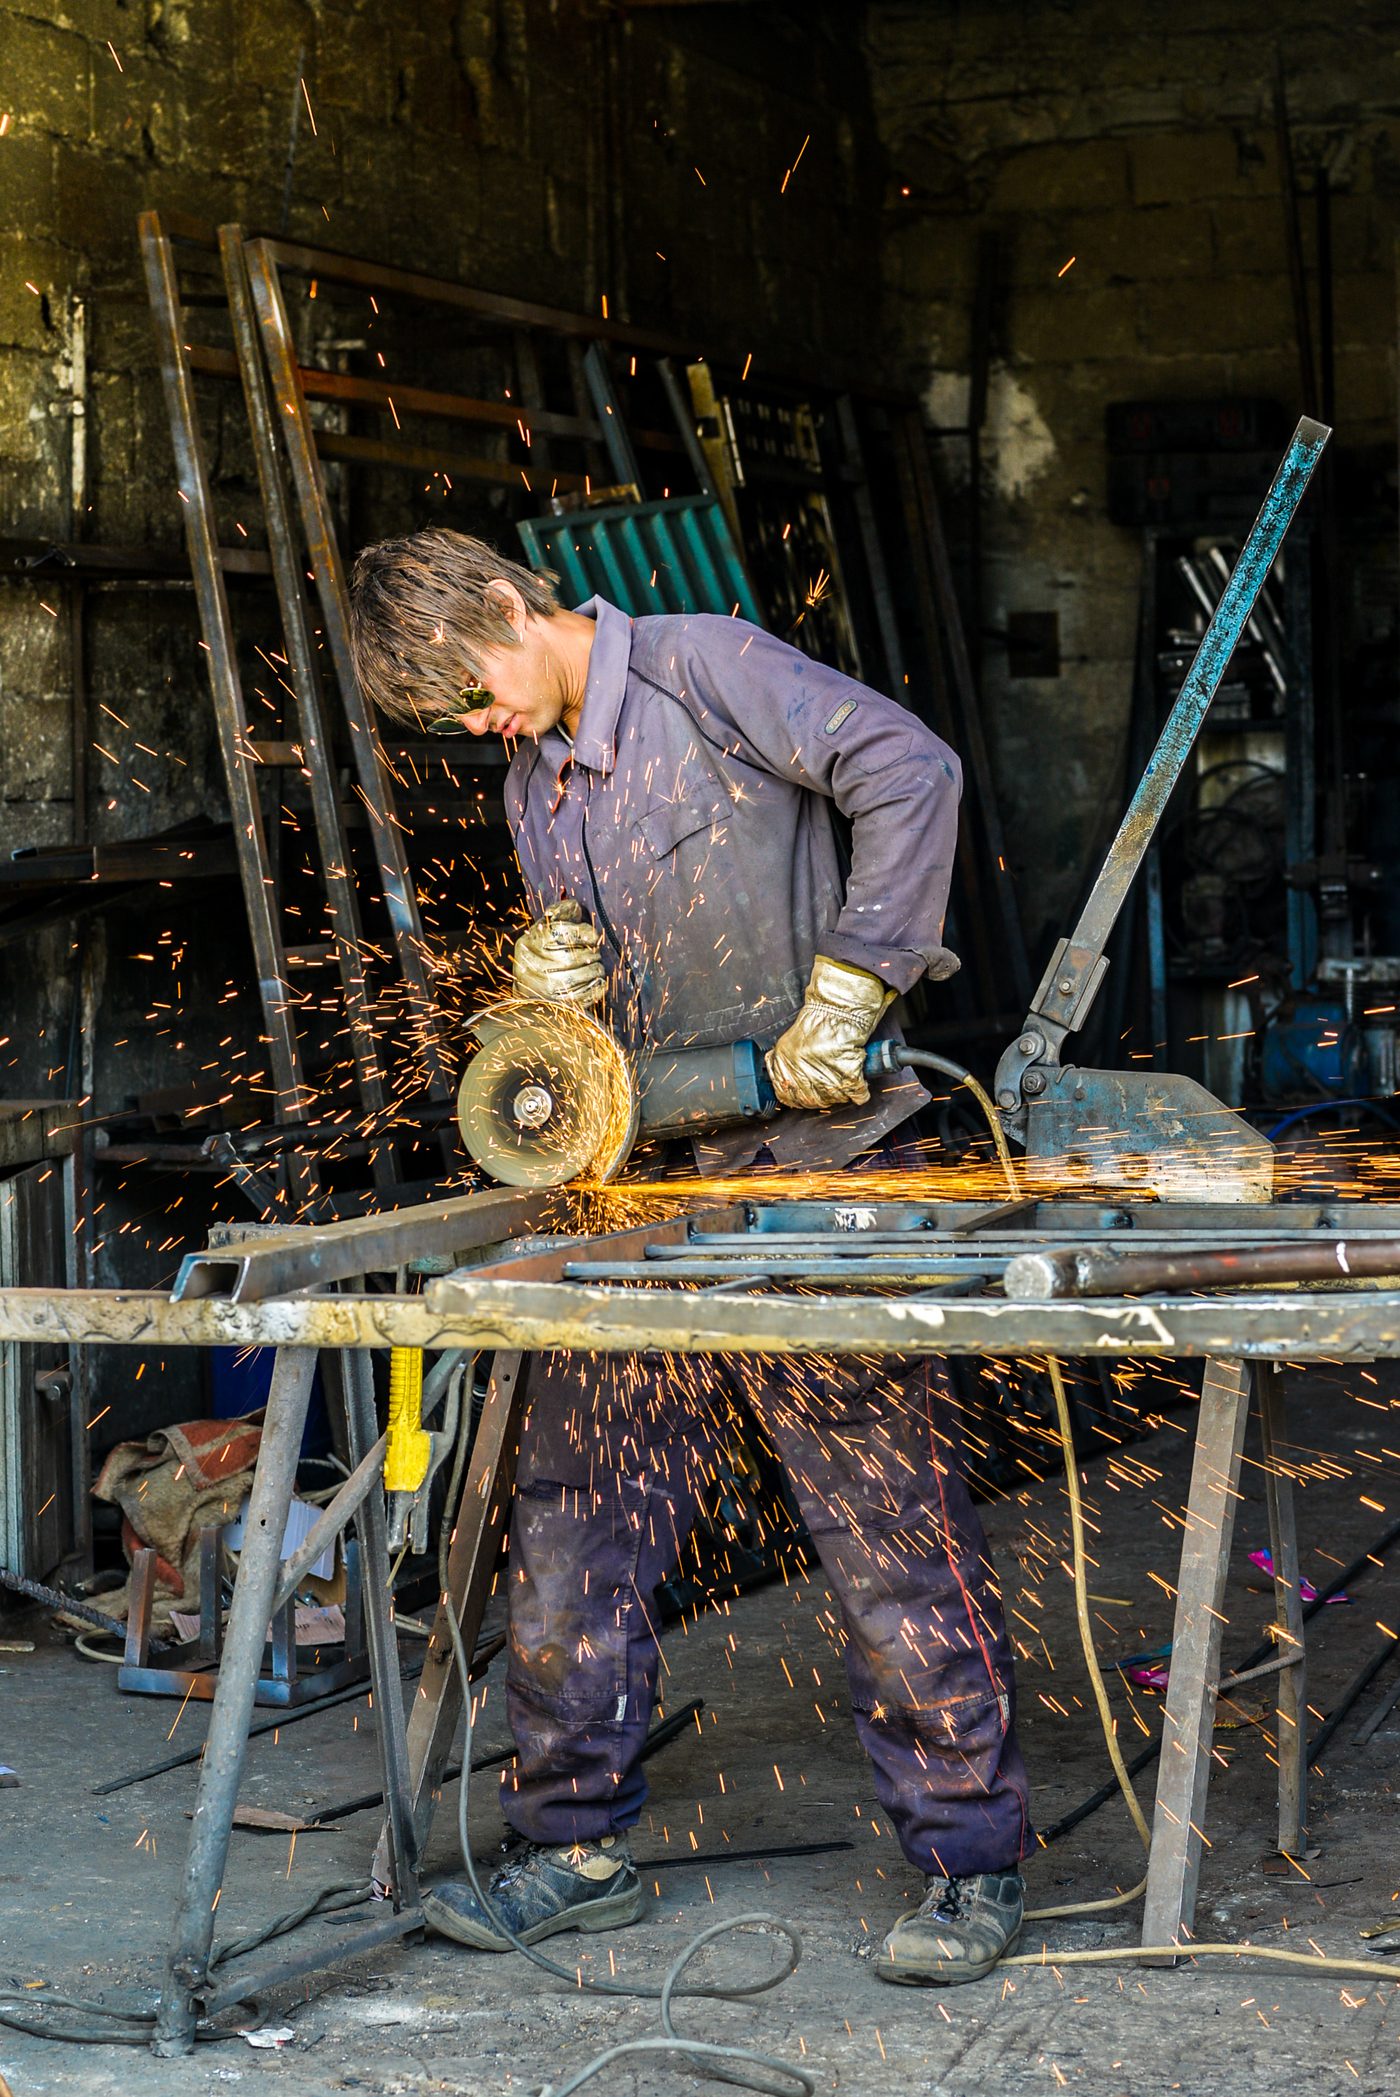
Worker wearing hand gloves using grinder (Source: Wikimedia Commons)
- Safety Boots: Steel-toed boots protect feet from heavy falling materials and provide slip resistance on uneven or wet surfaces common in construction zones.
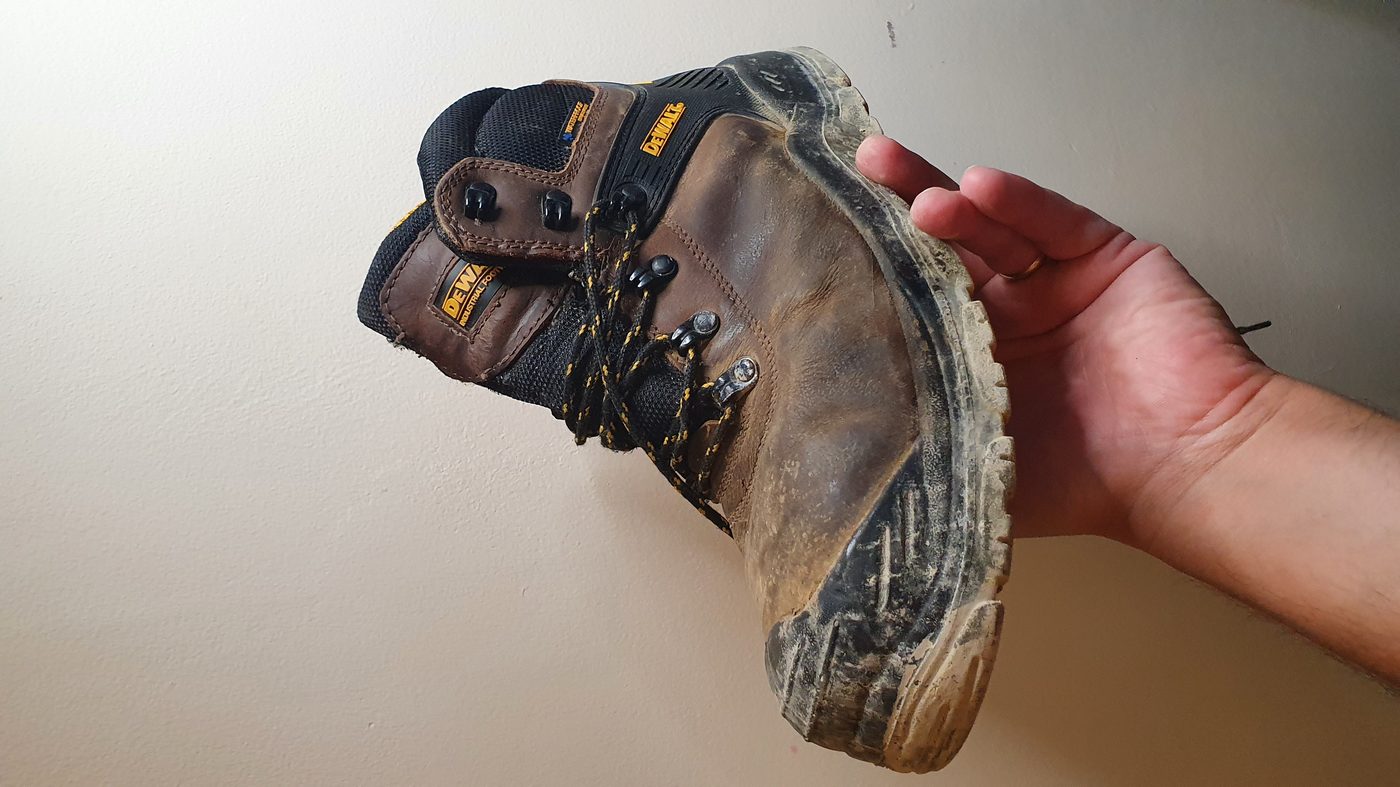
A single safety boot for industrial use (Source: Wikimedia Commons)
- Hearing Protection: Earplugs or earmuffs reduce the risk of hearing damage from prolonged exposure to loud power tools such as drills and saws.
4.1.2 Importance of PPE Compliance in Kenyan Carpentry Sites
Wearing PPE is not merely a recommendation but a legal requirement under Kenya’s Occupational Safety and Health Act. Compliance ensures the following:
- Reduction of Injury Rates: PPE significantly lowers incidents such as cuts, bruises, eye injuries, and fractures, which are common during installation tasks.
- Improved Worker Confidence: Knowing they are protected enables carpenters to focus on quality workmanship without distraction from safety concerns.
- Legal and Financial Protection: Employers who enforce PPE use avoid penalties and costly compensation claims, fostering sustainable business operations.
- Promotion of Safety Culture: Consistent PPE use encourages safer work habits throughout the site, benefiting all trades involved in construction.
- Enhanced Productivity: Reduced injury-related downtime leads to timely project completion, a key performance indicator in competitive Kenyan construction projects.
4.1.3 Proper Use and Maintenance of PPE in Carpentry
Effectiveness of PPE depends on correct usage and upkeep. Kenyan carpenters must adhere to the following practices:
- Correct Fit: Helmets, gloves, and boots should fit snugly to provide maximum protection without restricting movement.
- Regular Inspection: PPE should be checked for cracks, tears, or wear before and after each use to ensure integrity.
- Cleaning and Storage: After use, equipment must be cleaned of dust and debris and stored in dry, ventilated areas to prevent deterioration.
- Replacement Schedule: Damaged or worn-out PPE should be replaced promptly to maintain safety standards.
- Training: Workers must receive instruction on the correct donning, doffing, and limitations of each PPE item to avoid misuse.
4.1.4 Challenges to PPE Use and How to Address Them in Kenya
Despite its importance, PPE use faces obstacles on some Kenyan sites. These challenges and mitigation strategies include:
Challenges
- Cost Constraints: Small-scale contractors may find it expensive to provide full PPE sets for all workers.
- Discomfort: Some workers avoid PPE due to heat and restricted movement, especially in Kenya’s warm climate.
- Lack of Awareness: Inadequate training results in underestimating PPE importance or incorrect use.
- Poor Enforcement: Supervisors may neglect enforcing PPE rules, leading to inconsistent compliance.
- Inadequate PPE Supply: Limited availability of quality PPE in rural or remote areas hampers access.
How to Address
- Budget Allocation: Employers should prioritize PPE procurement as a non-negotiable safety investment.
- Selecting Appropriate PPE: Use breathable materials and ergonomic designs suited for local weather conditions.
- Continuous Training: Regular safety briefings and demonstrations reinforce PPE importance and correct use.
- Strict Supervision: Site managers must enforce PPE policies consistently, with penalties for non-compliance.
- Supply Chain Development: Encourage local businesses to stock affordable and certified PPE to improve accessibility.
Practice Questions
- Explain the significance of wearing safety helmets and eye protection during door and window installation. (6 marks)
- Identify and describe five types of personal protective equipment essential for carpentry work. (10 marks)
- Discuss the challenges of PPE use on Kenyan construction sites and suggest practical solutions to each. (10 marks)
- Outline best practices for maintenance and proper use of PPE in carpentry and joinery. (8 marks)
The rest of this chapter
🔒Create a free account to open more of this chapter.
Free: practical guides, quick cards, workplace scenarios and more.
Create a free account 🔒4.2 Doors and Window erecting tools and equipment
The successful erection of doors and windows depends heavily on selecting and using the right tools and equipment. In Kenya’s carpentry sector, understanding these tools’ specifications and appropriate applications ensures installations are precise, safe, and…
🔒4.3 Doors and Window Hardware
In carpentry and joinery, the selection and installation of appropriate hardware for doors and windows are critical for functionality, security, and aesthetics. Hardware components such as hinges, handles, locks, and latches not only facilitate smooth operatio…
🔒4.4 Background Preparation
Background preparation is a critical phase in the installation of doors and windows, ensuring that the surface and surrounding structures are properly prepared to receive the frames. In Kenya, carpentry and joinery professionals working in construction project…
🔒4.5 Erecting Doors and Windows
In carpentry and joinery, the proper erection of doors and windows is critical to the structural integrity, functionality, and aesthetic appeal of buildings. In Kenya, where climatic variations and security considerations influence design choices, precise fixi…
🔒4.6 Quality Checks
In carpentry and joinery, quality checks during the erection of doors and windows are essential to guarantee the installation meets functional and aesthetic standards. In Kenya, where construction quality can vary widely, rigorous checks for levelness, plumbne…
🔒4.7 Fixing architraves
In carpentry and joinery, architraves serve both aesthetic and functional roles by framing doors and windows, covering gaps between the frame and wall finishes. In Kenyan construction projects, such as county government offices or private residential buildings…
🔒4.8 Housekeeping practices
Good housekeeping on carpentry sites is essential to maintain a safe working environment, improve efficiency, and reduce material wastage. In Kenyan carpentry workshops and construction sites, such as those in county government projects or private developments…
🔒4.9 Recycling of Timber Waste
In Kenya's carpentry and joinery sector, managing timber waste effectively is crucial for economic efficiency and environmental sustainability. Timber waste generated during the erection of doors and windows can be transformed into valuable products, reducing…
Chapter Summary
This chapter covers the essential aspects of erecting doors and windows, beginning with the importance of using appropriate personal protective equipment to ensure safety during installation. It then details the specific tools and equipment needed for the task, followed by an examination of door and window hardware such as hinges, handles, locks, and latches, explaining their functions and applications. The preparation of the background surface is addressed through techniques like chasing, pilot hole drilling, and plugging to secure the fixtures properly. Methods for fixing door and window frames are explored alongside the actual installation procedures for doors and windows. Quality checks focusing on levelness, plumbness, and squareness are emphasized to guarantee a precise fit. The chapter also discusses the types of architraves, both straight and curved, and the methods used to fix them securely. Finally, good housekeeping practices are highlighted, including the collection and sorting of timber waste, proper maintenance of materials, and the recycling of timber waste into handicrafts and consumer goods to promote sustainability.
Self-Assessment
🔒 PDFDownload this self-assessment, with answers
A. Written Assessment
- Identify five essential personal protective equipment (PPE) items used during door and window erection and explain their importance. (10 marks)
- Which tool is primarily used to create pilot holes during door and window installation? (2 marks)
🔒20 more in this section.
Chapter Examination Questions
🔒 PDFDownload these examination questions, with worked answers
SECTION A (40 Marks) - Answer ALL Questions
- Identify five types of personal protective equipment (PPE) essential for a carpenter erecting doors and windows at a construction site in Nairobi. (4 marks)
- Explain the function of a pilot hole in the process of fixing window frames. (4 marks)
🔒18 more in this section.
Chapter Practical Activities
Practical 1: Prepare Background and Chase for Door and Window Fixing
Carpentry and Joinery · Level 4
Doors And Windows
PRACTICAL ASSESSMENT
TIME: 4 HOURS
⬇ PDFCandidate Instructions (Candidate Tool)
Type: Individual
INSTRUCTIONS TO CANDIDATE:
1. You are required to perform the following task:
i. Prepare background and cut chases on a concrete block wall section for fixing a door opening 900mm wide x 2100mm high and a window opening 1200mm wide x 1200mm high.
2. You have been provided with the following resources for the practical task:
| Tools & Equipment | Materials |
|---|
| Masonry hammer | Wall surface (concrete block wall section) |
| Cold chisel 25 mm | |
| Tape measure | |
| Spirit level | |
| Carpenter's pencil | |
| Brush for cleaning dust | |
⬇ PDFResources Required (Cutting List)
| S/N | Item | Quantity |
|---|
| 1 | Masonry hammer | 1 Pc per Candidate |
| 2 | Cold chisel 25 mm | 1 Pc per Candidate |
| 3 | Tape measure (5m) | 1 Pc per Candidate |
| 4 | Spirit level | 1 Pc per Candidate |
| 5 | Carpenter's pencil | 1 Pc per Candidate |
| 6 | Brush for cleaning dust | 1 Pc per Candidate |
| 7 | Safety boots | 1 Pair per Candidate |
| 8 | Dust mask | 1 Pc per Candidate |
| 9 | Protective gloves | 1 Pair per Candidate |
| 10 | Wall surface (concrete block wall section) | 1 Section per Candidate |
⬇ PDFAssessor Guide
| Items to be Evaluated | Marks Available | Marks Obtained | Comments |
|---|
| TASK 1: Background Preparation and Chasing |
Identified and used PPE correctly (Safety boots, Dust mask, Protective gloves)
(Award 1 mark for each PPE worn as per workplace safety procedures) | 3 | | |
Assembled all required tools and materials
(Award 2 marks if all tools and materials are gathered before starting) | 2 | | |
Measured and marked door opening 900mm wide x 2100mm high accurately on wall
(Award 3 marks for correct marking according to dimensions) | 3 | | |
Measured and marked window opening 1200mm wide x 1200mm high accurately on wall
(Award 3 marks for correct marking according to dimensions) | 3 | | |
Cut chases neatly and to correct depth for door fixing
(Award 4 marks for neat and correct depth chasing for door) | 4 | | |
Cut chases neatly and to correct depth for window fixing
(Award 4 marks for neat and correct depth chasing for window) | 4 | | |
Cleaned wall surface and removed dust from chases
(Award 2 marks for thorough cleaning after chasing) | 2 | | |
Followed safe work practices throughout the task
(Award 2 marks for adherence to occupational safety and health regulations) | 2 | | |
Performed workplace housekeeping (collected tools, cleaned work area)
(Award 2 marks for proper housekeeping after task completion) | 2 | | |
| Sub-Total | 25 | | |
| PRODUCT CHECKLIST |
Door opening chase dimensions: width 900mm ±5mm, height 2100mm ±5mm
(Award 4 marks for both width and height within tolerance) | 4 | | |
Window opening chase dimensions: width 1200mm ±5mm, height 1200mm ±5mm
(Award 4 marks for both width and height within tolerance) | 4 | | |
Chase depth consistent and suitable for fixing (minimum 25mm depth)
(Award 4 marks for consistent and adequate chase depth) | 4 | | |
Chases neat with straight edges and clean corners
(Award 3 marks for neatness and straightness of chases) | 3 | | |
Wall background surface properly prepared for fixing (clean and dust free)
(Award 3 marks for proper cleaning and preparation) | 3 | | |
Overall workmanship and adherence to safety and quality standards
(Award 3 marks for overall good workmanship and compliance) | 3 | | |
| Sub-Total | 21 | | |
| GRAND TOTAL | 46 | | |
ASSESSMENT OUTCOME: ☐ Competent ☐ Not Yet Competent (competent if at least 50%)
Practical 2: Drill pilot holes and perform plugging for door and window frames
Carpentry and Joinery · Level 4
Doors And Windows
PRACTICAL ASSESSMENT
TIME: 4 HOURS
⬇ PDFCandidate Instructions (Candidate Tool)
Type: Individual
INSTRUCTIONS TO CANDIDATE:
1. You are required to perform the following task:
i. Drill pilot holes 1000mm apart and insert 6mm diameter wall plugs in a 1200mm x 900mm wall section.
2. You have been provided with the following resources for the practical task:
| Tools & Equipment | Materials |
|---|
| Electric hand drill | Wall plugs (plastic), 6mm diameter |
| 6mm drill bits | |
| Hammer | |
| Tape measure | |
| Pencil | |
| Spirit level | |
| Safety boots | |
| Protective goggles | |
| Dust mask | |
⬇ PDFResources Required (Cutting List)
| S/N | Item | Quantity |
|---|
| 1 | Electric hand drill | 1 Pc per Candidate |
| 2 | 6mm drill bits | 2 Pcs per Candidate |
| 3 | Wall plugs (plastic), 6mm diameter | 20 Pcs per Candidate |
| 4 | Hammer | 1 Pc per Candidate |
| 5 | Tape measure (5m) | 1 Pc per Candidate |
| 6 | Pencil | 1 Pc per Candidate |
| 7 | Spirit level | 1 Pc per Candidate |
| 8 | Safety boots | 1 Pair per Candidate |
| 9 | Protective goggles | 1 Pair per Candidate |
| 10 | Dust mask | 1 Pc per Candidate |
⬇ PDFAssessor Guide
| Items to be Evaluated | Marks Available | Marks Obtained | Comments |
|---|
| TASK 1: Drill pilot holes and perform plugging |
Identified and used PPEs in line with occupational safety and health regulations (Safety boots, Goggles, Dust mask)
(Award 1 mark for each PPE worn correctly or 0) | 3 | | |
Assembled required tools and materials (Electric hand drill, drill bits, hammer, plugs, tape measure, pencil, spirit level)
(Award 1 mark for each assembled category or 0) | 2 | | |
Measured and marked positions for pilot holes at 1000mm spacing on a 1200mm x 900mm wall section
(Award 3 marks for correct measurement and marking or 0) | 3 | | |
Drilled pilot holes at marked positions with 6mm drill bit to correct depth
(Award 4 marks for drilling all holes correctly or 0) | 4 | | |
Inserted 6mm plastic wall plugs firmly into drilled pilot holes
(Award 3 marks for correctly inserted plugs or 0) | 3 | | |
Checked alignment and level of plugs using spirit level
(Award 2 marks for proper checking or 0) | 2 | | |
| Sub-Total | 17 | | |
| PRODUCT CHECKLIST |
Pilot holes drilled at 1000mm spacing, 1200mm length and 900mm height wall section
(Award 2 marks each for correct length, height and spacing or 0) | 6 | | |
Wall plugs inserted flush and firmly in all pilot holes
(Award 5 marks for all plugs correctly inserted or 0) | 5 | | |
Pilot holes drilled to correct diameter and depth
(Award 4 marks for correct diameter and depth or 0) | 4 | | |
General neatness and workmanship of plugging
(Award 3 marks for neat and professional finish or 0) | 3 | | |
| Sub-Total | 18 | | |
| GRAND TOTAL | 35 | | |
ASSESSMENT OUTCOME: ☐ Competent ☐ Not Yet Competent (competent if at least 50%)
🔒Fix Door and Window Frames using Appropriate MethodsPractical 3
🔒Fix Doors and Windows into FramesPractical 4
🔒Check and ensure levelness, plumbness, and squareness of door and window framesPractical 5
🔒Fix straight architraves around a door framePractical 6
🔒Fix curved architraves to door framesPractical 7
🔒Collect and sort timber wastes from door and window erectionPractical 8
🔒Perform proper care and maintenance of doors and windowsPractical 9
🔒Recycle Timber Waste from Door and Window WorksPractical 10
🔒Maintain Housekeeping During and After Door and Window ErectionPractical 11
🔒Produce a simple timber window frame handicraft 300mm x 250mmPractical 12
🔒Produce a Basic Timber Door Stopper 150mm x 50mm x 25mmPractical 13
🔒Select and Prepare Tools and PPE for Door and Window ErectionPractical 14
