
By the end of this chapter, you will be able to:
These skills are essential for creating high-quality walls that last and look great in any building project!
Compiled by: Harun Maina
Wall rendering is a fundamental finishing process in masonry that protects walls from weather damage while enhancing their appearance. In Kenya, professionals across various sectors such as county hospitals, schools, banks, and hotels engage in rendering to improve the durability and aesthetics of their buildings. Proper rendering requires attention to safety, preparation, and technique to achieve a smooth, durable surface that withstands environmental stress. This chapter addresses key aspects of carrying out wall rendering, beginning with essential personal protective equipment followed by procedures for wall preparation.
Personal protective equipment (PPE) is critical in masonry work to safeguard workers from hazards associated with mixing materials, handling tools, and working on scaffolds. In Kenya’s construction and maintenance environments such as county government offices and retail businesses, the use of appropriate PPE reduces the risk of injury and ensures compliance with occupational safety regulations. Understanding the types of PPE and their specific uses helps workers maintain health and safety standards during rendering.
PPE for wall rendering includes several items designed to protect different parts of the body from physical, chemical, and environmental hazards. Each type serves a unique role in preventing injuries and health issues during masonry work.
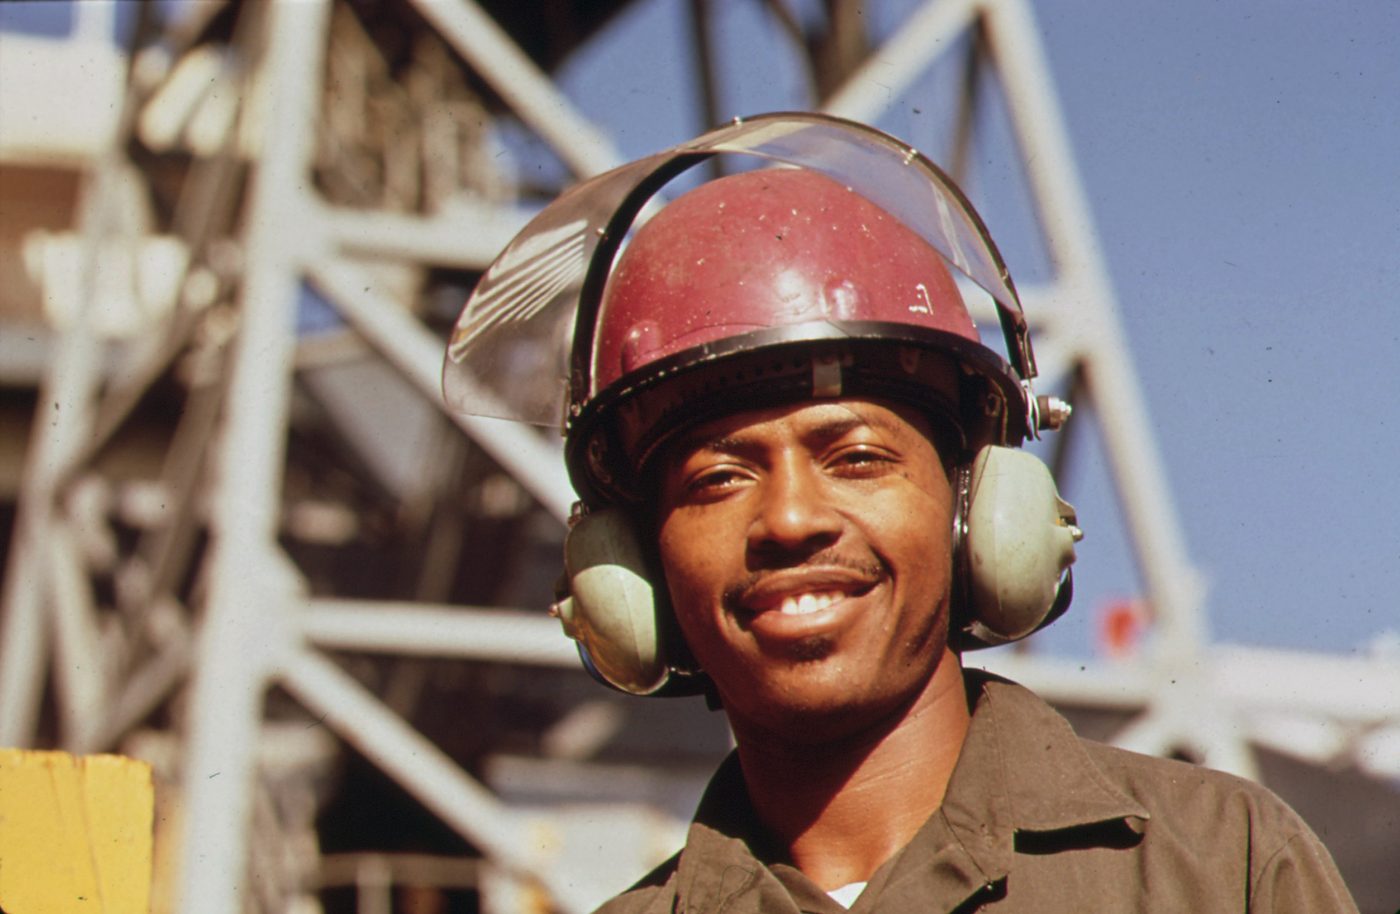
Man wearing a safety helmet (Source: Wikimedia Commons)
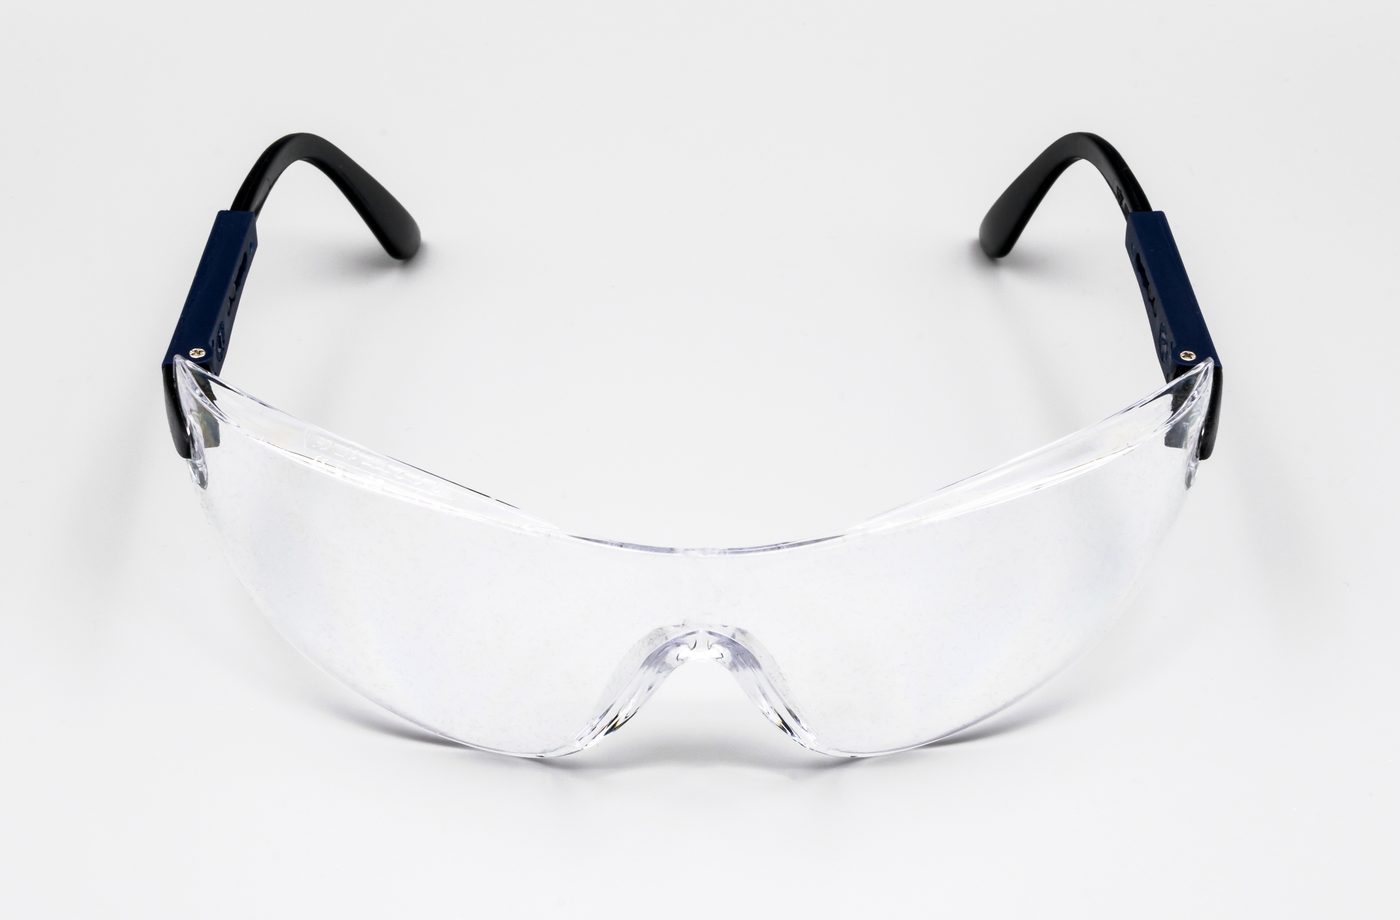
Clear safety goggles for eye protection (Source: Wikimedia Commons)
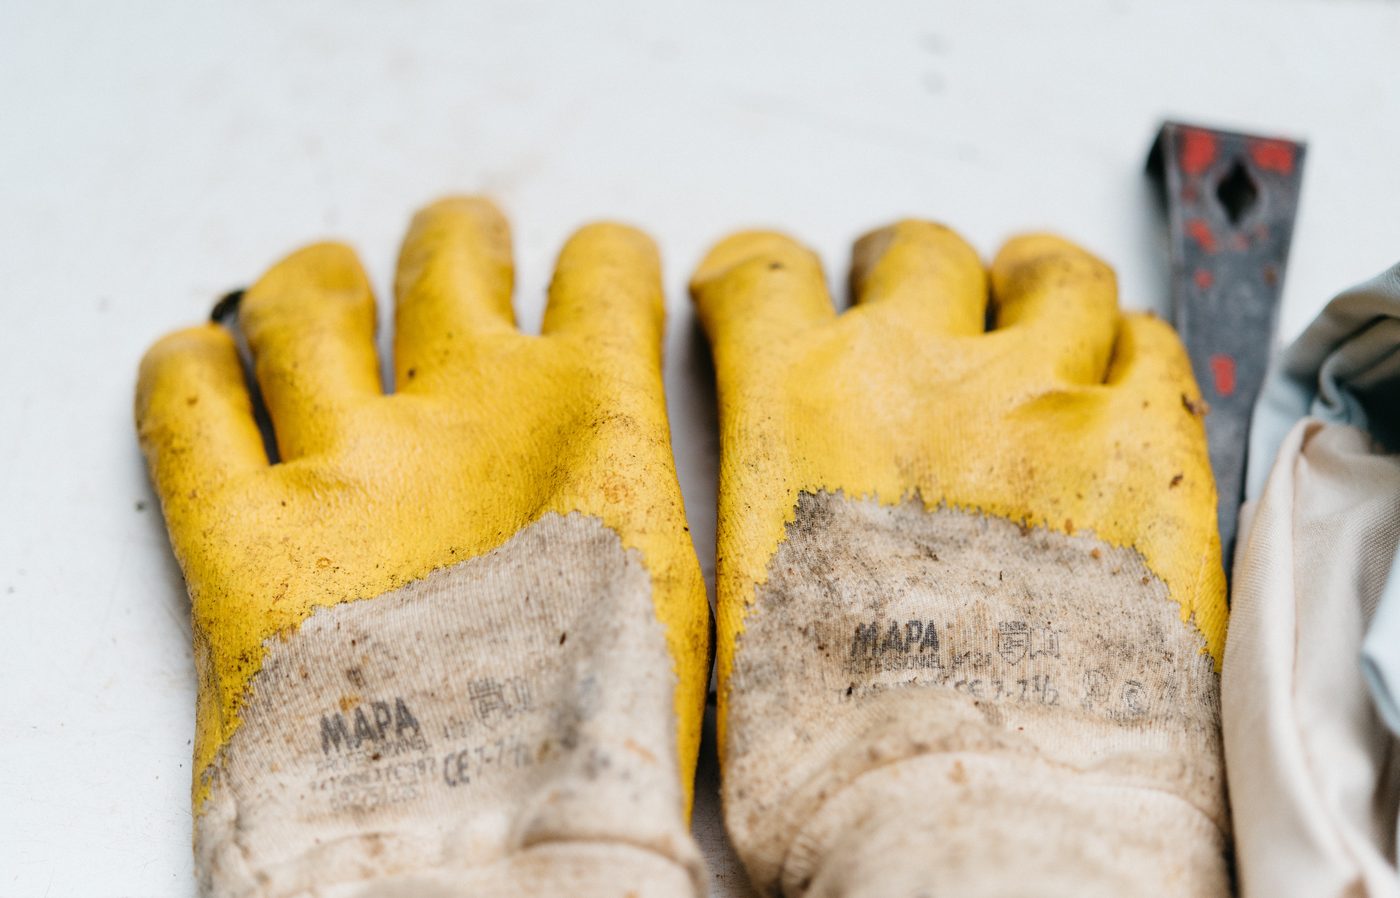
Pair of yellow work gloves used in carpentry (Source: Wikimedia Commons)
Each type of PPE has specific uses that address the risks encountered in wall rendering. Correct use ensures that workers can perform their tasks safely and efficiently.
Respirators/Dust Masks: Essential in dusty environments such as large-scale rendering projects at county referral hospitals to protect respiratory health.
Gloves: Used to prevent skin contact with cement, which can cause alkaline burns and dermatitis. Workers at cooperative farms benefit from gloves when applying render to storage buildings.
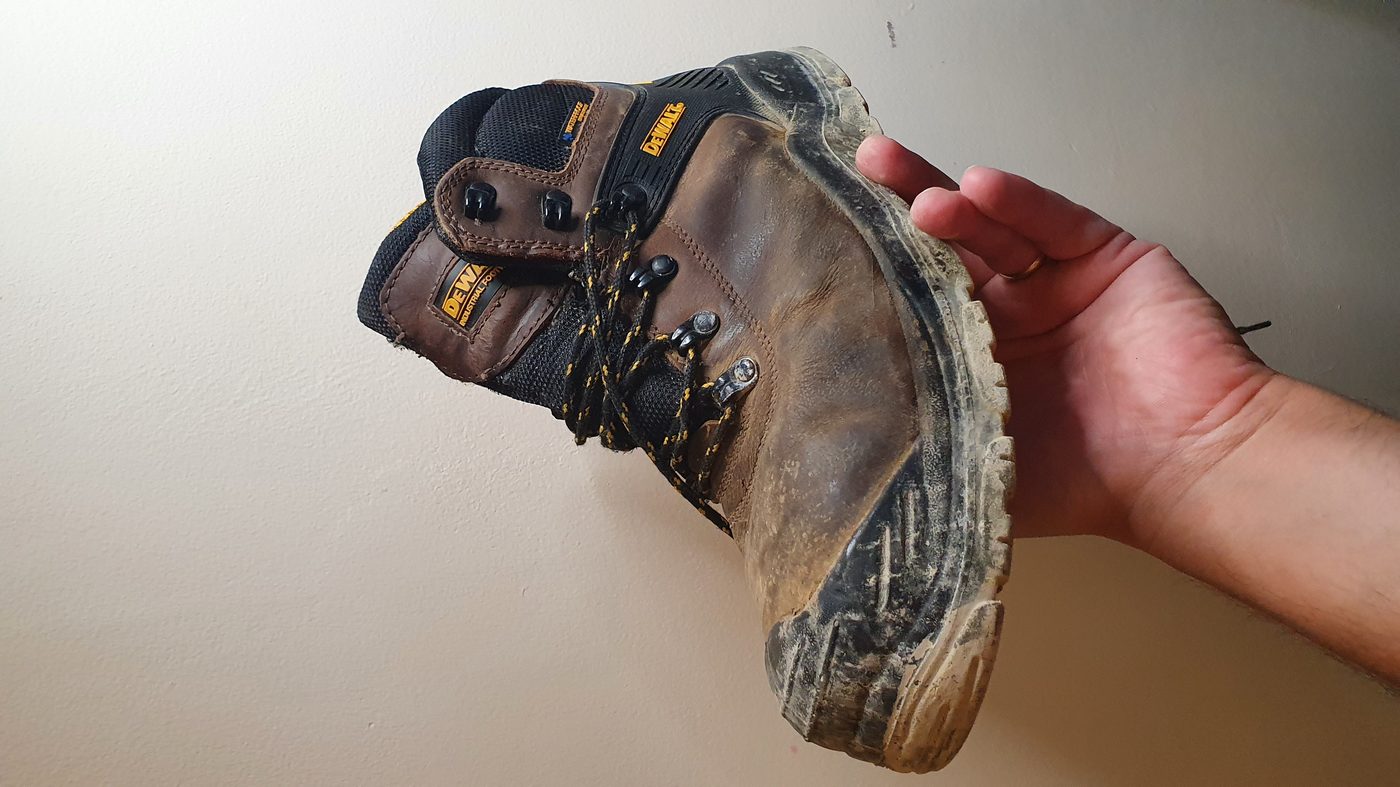
A single safety boot for industrial use (Source: Wikimedia Commons)
Create a free account to open more of this chapter.
Free: practical guides, quick cards, workplace scenarios and more.
Create a free accountThis chapter focused on the essential aspects of carrying out wall rendering in masonry works. It began with an overview of personal protective equipment, detailing the various types and their specific uses to ensure safety during the rendering process. The chapter then explained the wall preparation procedure, emphasizing the importance of a clean and stable surface for effective adhesion of the render. In discussing rendering, the key materials were identified, including cement and aggregates, highlighting their roles in achieving a durable finish. The application procedure was outlined step-by-step to guide proper rendering techniques. Finally, the chapter covered the curing of render, explaining how this process enhances the strength and longevity of the finished wall. Together, these topics provide a comprehensive understanding necessary for successful wall rendering.
Type: Individual
| Tools & Equipment | Materials |
|---|---|
| Helmet | Cement (Portland Cement) |
| Gloves | Coarse Aggregate (Stone Dust) |
| Dustcoat/Overall | Fine Aggregate (Sharp Sand) |
| Safety Boots | Water |
| Trowel | |
| Bucket | |
| Measuring Scale (Tape Measure 5m) | |
| Mixing Pan |
| S/N | Item | Quantity |
|---|---|---|
| 1 | Helmet | 1 Pc per Candidate |
| 2 | Gloves | 1 Pair per Candidate |
| 3 | Dustcoat/Overall | 1 Pc per Candidate |
| 4 | Safety Boots | 1 Pair per Candidate |
| 5 | Cement (Portland Cement) | 10 Kgs per Candidate |
| 6 | Coarse Aggregate (Stone Dust) | 20 Kgs per Candidate |
| 7 | Fine Aggregate (Sharp Sand) | 15 Kgs per Candidate |
| 8 | Water | 5 Litres per Candidate |
| 9 | Trowel | 1 Pc per Candidate |
| 10 | Bucket | 1 Pc per Candidate |
| 11 | Measuring Scale (Tape Measure 5m) | 1 Pc per Candidate |
| 12 | Mixing Pan | 1 Pc per Candidate |
| Items to be Evaluated | Marks Available | Marks Obtained | Comments |
|---|---|---|---|
| TASK 1: Identification and Selection of Rendering Materials | |||
| Wore PPE including helmet, gloves, dustcoat/overall, and safety boots (Award one mark for each PPE donned as per workplace procedures 4 x 1 = 4 Marks) | 4 | ||
| Correctly identified cement type suitable for rendering (Award 2 marks for correct identification of Portland cement) | 2 | ||
| Correctly identified fine aggregate (sharp sand) for rendering (Award 2 marks for correct identification of fine aggregate) | 2 | ||
| Correctly identified coarse aggregate (stone dust) for rendering (Award 2 marks for correct identification of coarse aggregate) | 2 | ||
| Measured and batched materials in correct ratio 1:4:4 (cement: fine aggregate: coarse aggregate) (Award 2 marks for each correctly batched material) | 6 | ||
| Measured water quantity appropriate for rendering mix consistency (Award 2 marks for correct water measurement) | 2 | ||
| Mixed materials uniformly to obtain a consistent rendering mix (Award 4 marks for proper mixing technique) | 4 | ||
| Handled and stored materials safely and in good custody (Award 3 marks for care and safe custody of materials) | 3 | ||
| Cleaned and cleared the working area after task completion (Award 3 marks for proper housekeeping) | 3 | ||
| Sub-Total | 28 | ||
| PRODUCT CHECKLIST | |||
| Accurate batching of cement (1 part) measured in 2.5 kg increments (Award 3 marks for correct batching of cement) | 3 | ||
| Accurate batching of fine aggregate (sharp sand) (4 parts) measured in 10 kg increments (Award 3 marks for correct batching of fine aggregate) | 3 | ||
| Accurate batching of coarse aggregate (stone dust) (4 parts) measured in 10 kg increments (Award 3 marks for correct batching of coarse aggregate) | 3 | ||
| Water quantity sufficient to achieve workable rendering mix consistency (Award 3 marks for correct water quantity) | 3 | ||
| Rendering mix is uniform in texture and free of lumps (Award 3 marks for uniform and consistent mix) | 3 | ||
| Materials are stored properly and protected from contamination (Award 3 marks for proper storage and protection) | 3 | ||
| Sub-Total | 18 | ||
| GRAND TOTAL | 46 | ||
Type: Individual
| Tools & Equipment | Materials |
|---|---|
| Steel float | Water |
| 3-inch wire brush | |
| Mason hammer | |
| Trowel | |
| Spirit level | |
| Tape measure | |
| Chalk line |
| S/N | Item | Quantity |
|---|---|---|
| 1 | Steel float | 1 Pc per Candidate |
| 2 | 3-inch wire brush | 1 Pc per Candidate |
| 3 | Mason hammer | 1 Pc per Candidate |
| 4 | Trowel | 1 Pc per Candidate |
| 5 | Spirit level | 1 Pc per Candidate |
| 6 | Water bucket (10 Litres) | 1 Pc per Candidate |
| 7 | Safety helmet | 1 Pc per Candidate |
| 8 | Dust coat/overall | 1 Pc per Candidate |
| 9 | Gloves | 1 Pair per Candidate |
| 10 | Safety boots | 1 Pair per Candidate |
| 11 | Pre-existing masonry wall (2500mm x 1500mm) | 1 Pc per Candidate |
| 12 | Tape measure (3m) | 1 Pc per Candidate |
| 13 | Chalk line | 1 Pc per 5 Candidates |
| 14 | Bucket for water | 1 Pc per Candidate |
| Items to be Evaluated | Marks Available | Marks Obtained | Comments |
|---|---|---|---|
| TASK 1: Wall Surface Preparation | |||
| Wore PPE (helmet, gloves, dust coat/overall, safety boots) as per occupational safety and health regulations (Award one mark for each PPE donned as per workplace procedures 4 x 1 = 4 Marks) | 4 | ||
| Cleared the wall surface of loose debris and dust using the 3-inch wire brush (Award 1 mark for proper use of wire brush and thorough cleaning x4) | 4 | ||
| Hacked the wall surface uniformly with mason hammer to provide a mechanical key for rendering (Award 2 marks for correct hacking technique, 2 marks for uniform coverage, 2 marks for proper depth) | 6 | ||
| Wetted the prepared wall surface evenly using water bucket and brush before rendering (Award 1 mark for even wetting, 3 marks for correct timing and method) | 4 | ||
| Checked the wall surface for flatness and uniformity using spirit level and steel float (Award 2 marks for correct use of spirit level, 2 marks for steel float application) | 4 | ||
| Cleaned and stored all tools and cleared the working area after completion (Award 3 marks for proper housekeeping and tool care) | 3 | ||
| Sub-Total | 25 | ||
| PRODUCT CHECKLIST | |||
| Wall surface dimensions match 2500mm length x 1500mm height with tolerance ±5mm (Award 1 mark each for length, height, and tolerance compliance) | 5 | ||
| Wall surface is uniformly hacked with no loose particles visible (Award 5 marks for thorough and uniform hacking) | 5 | ||
| Wall surface is evenly wetted and free from dry patches (Award 5 marks for proper wetting) | 5 | ||
| Wall surface is level and flat as verified with spirit level and steel float (Award 5 marks for flatness and levelness) | 5 | ||
| Work area is clean and tools stored correctly (Award 5 marks for neatness and tool care) | 5 | ||
| Sub-Total | 25 | ||
| GRAND TOTAL | 50 | ||
At the start of this chapter we promised you would be able to:
Tick each one you can genuinely do.
So, are you there yet?
You're competent when you can confidently do 50% or more of what this chapter promised.
Sign in to record how you're doing.